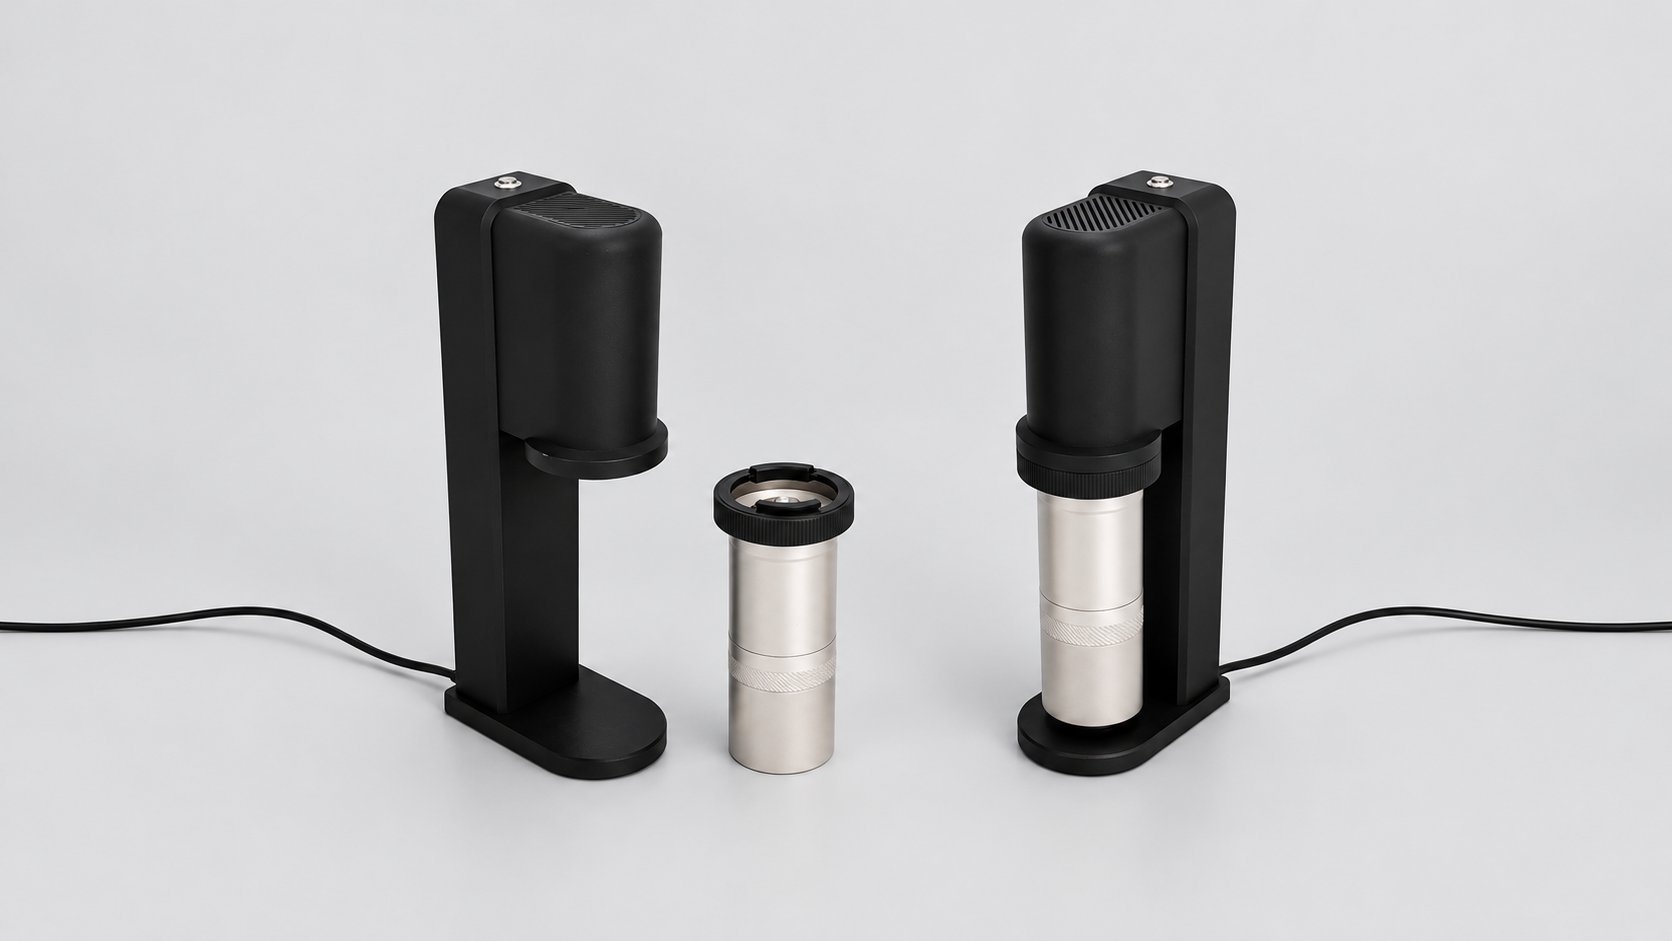
Motorized Coffee Grinder
2024 - Self initiated
Since coffee is a passionate hobby of mine, I naturally face problems with existing products that get me thinking about creating work-around, products or ways to solve these problems.
In this case, I had bought a specific kind of manual coffee grinder because of its great capabilities and low cost, but eventually got tired of cranking it by hand - and so did my wife. My goal then became to make an add-on that can motorise the grinder, is easy to use, and fits in a kitchen.
The project involved lots of 3D-printing, prototyping and learning more about electronics and Arduino.


Why use a manual grinder in the first place?
Manual grinder have become increasingly popular the last few years because they are very cost effective. Since they don’t need to have any electronics or any motors, they are smaller and simpler to manufacture and don’t require the same certifications. Instead, more resources can be spent on making high quality burrs. A manual grinder nowadays can have better quality than an electric grinder that costs many times more.
Demo
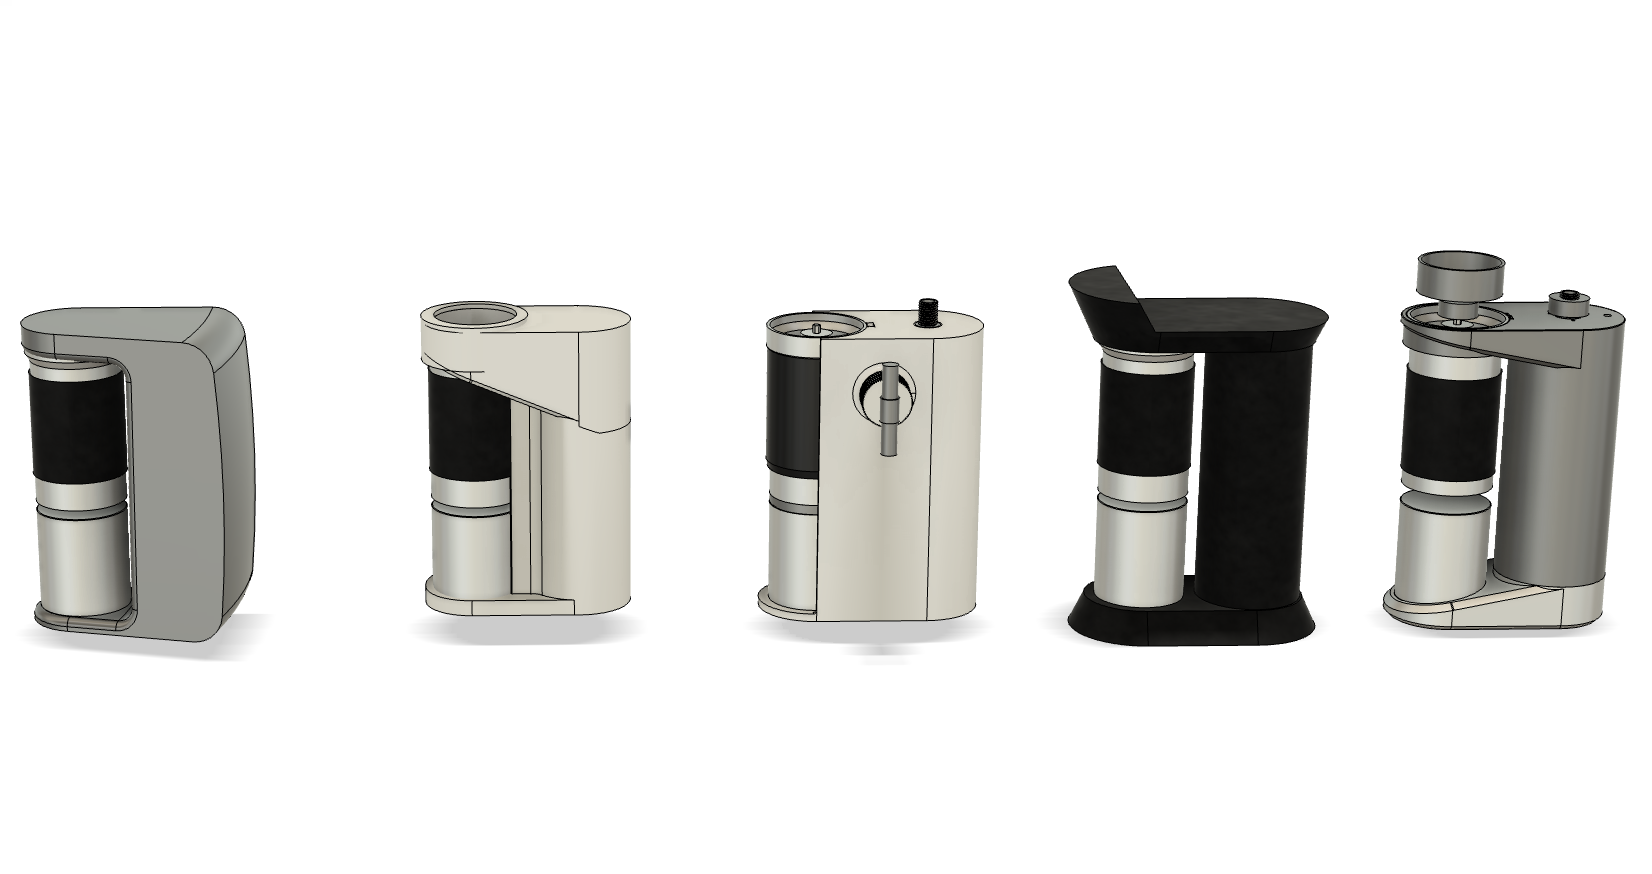
Requirements and ideation
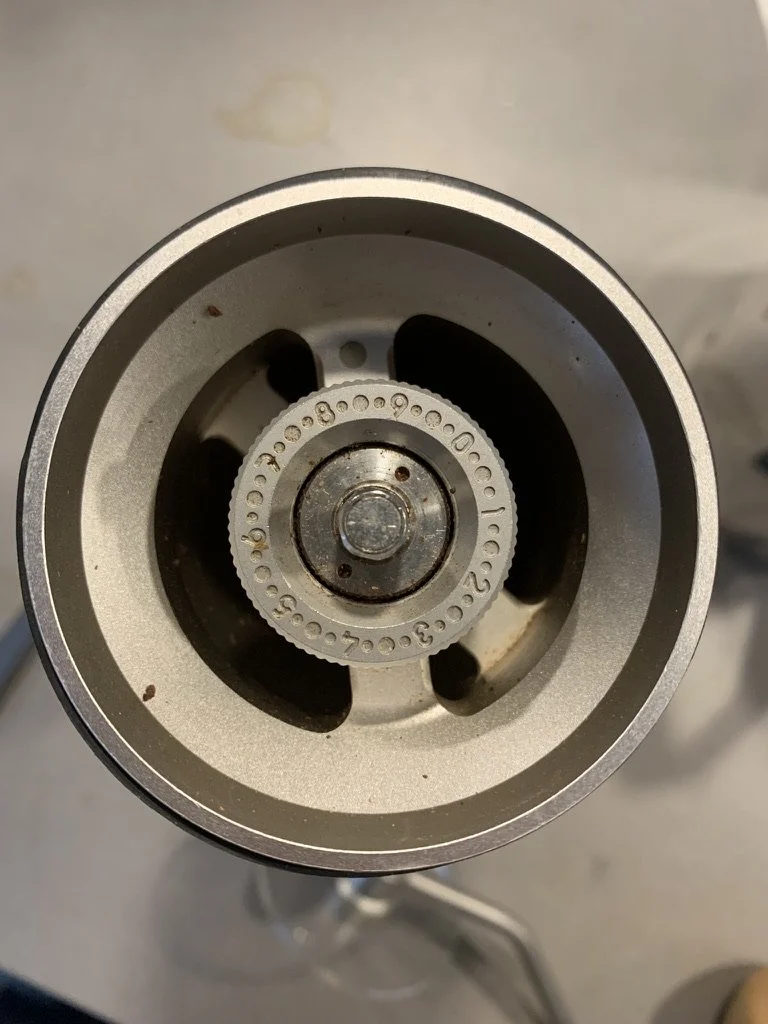
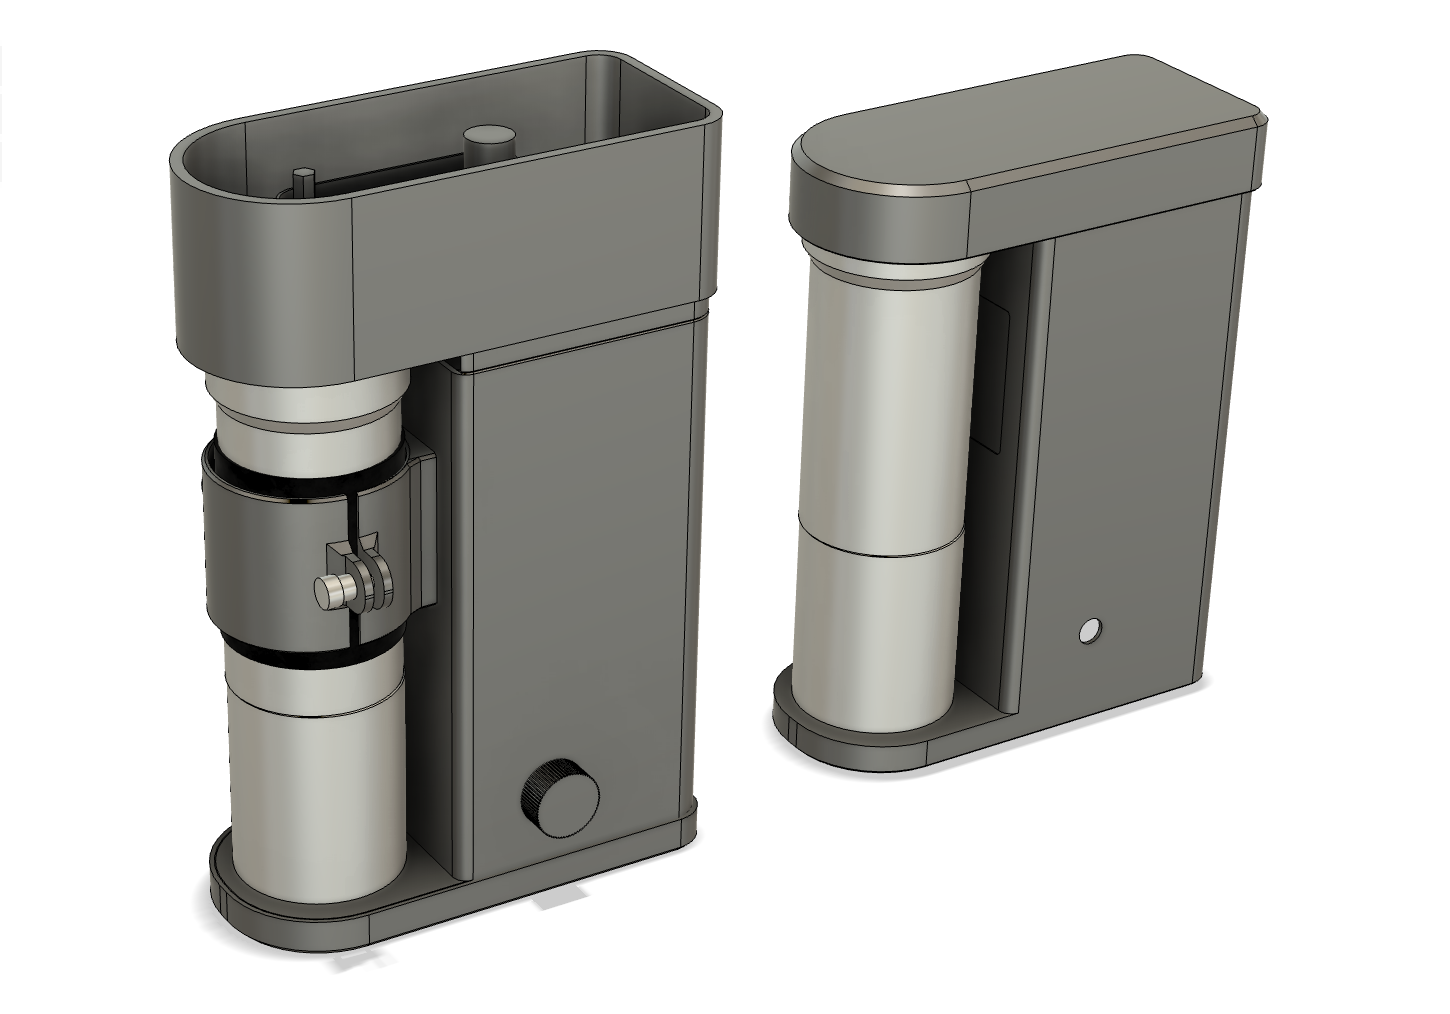
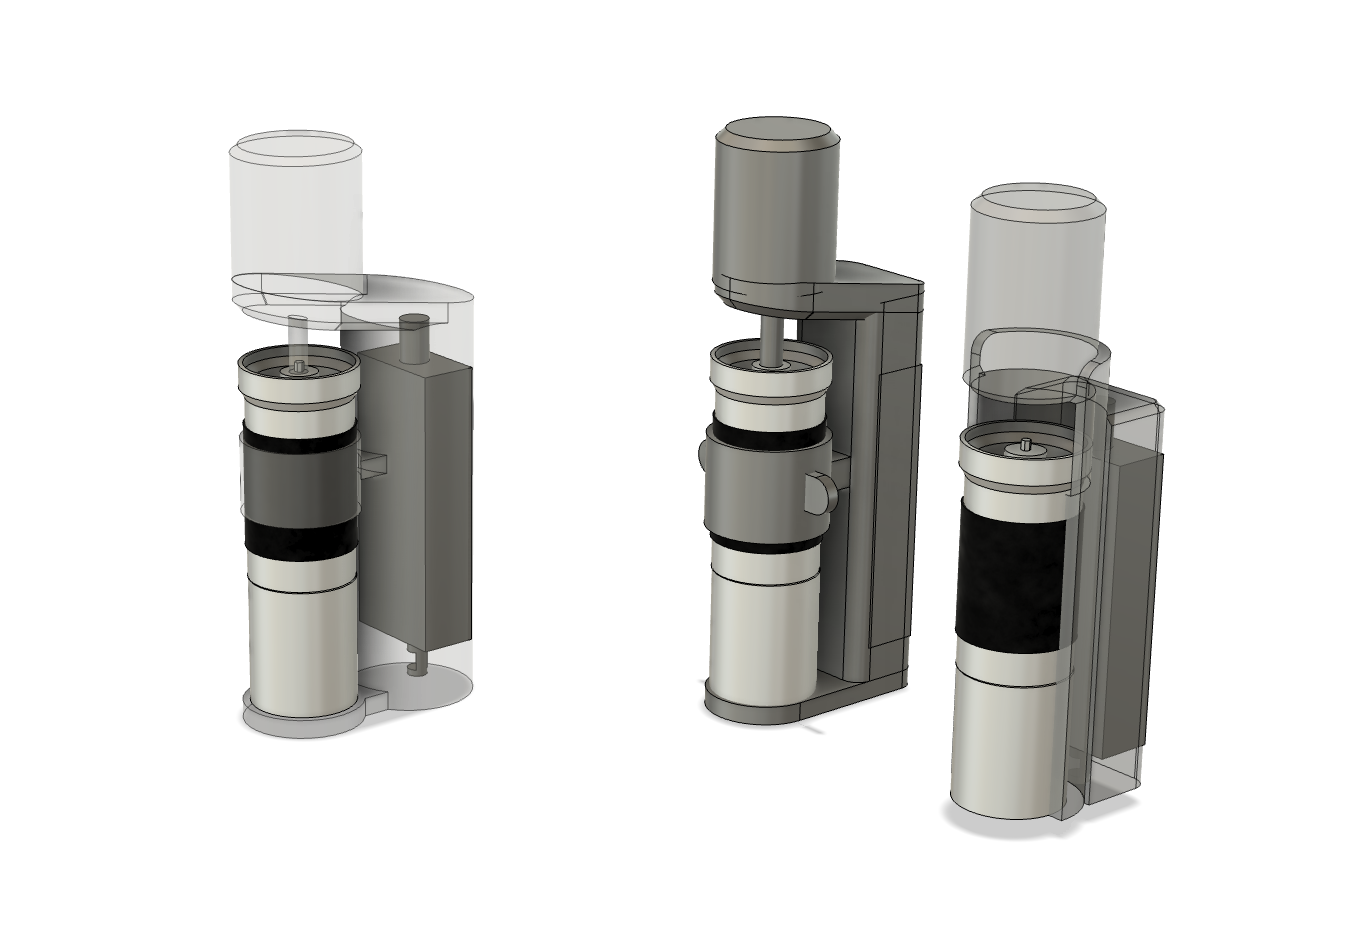
The grinder (a 1zpresso JX-pro) should be detachable and not a permanent instalment, so that it can be used as a manual grinder too.
This mounting mechanism should be quick and easy to use.
Grind adjustment must be possible, either by detaching the grinder or having the adjustment screw exposed (it’s placed on top of the grinder).
Obviously, adding beans must be possible, either by detaching the grinder or having the opening exposed.
Technical requirements
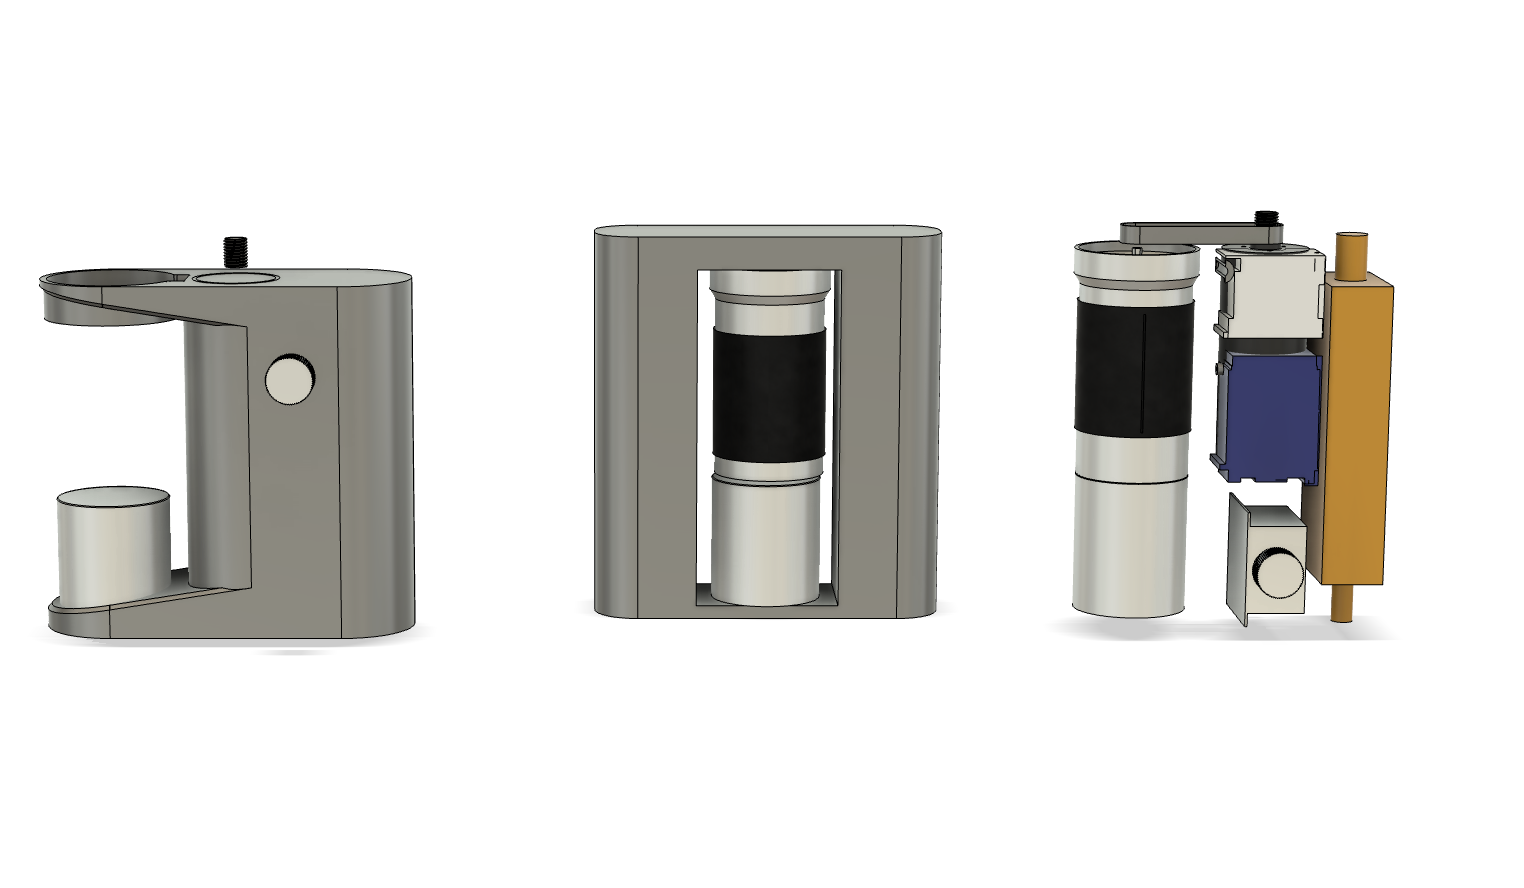
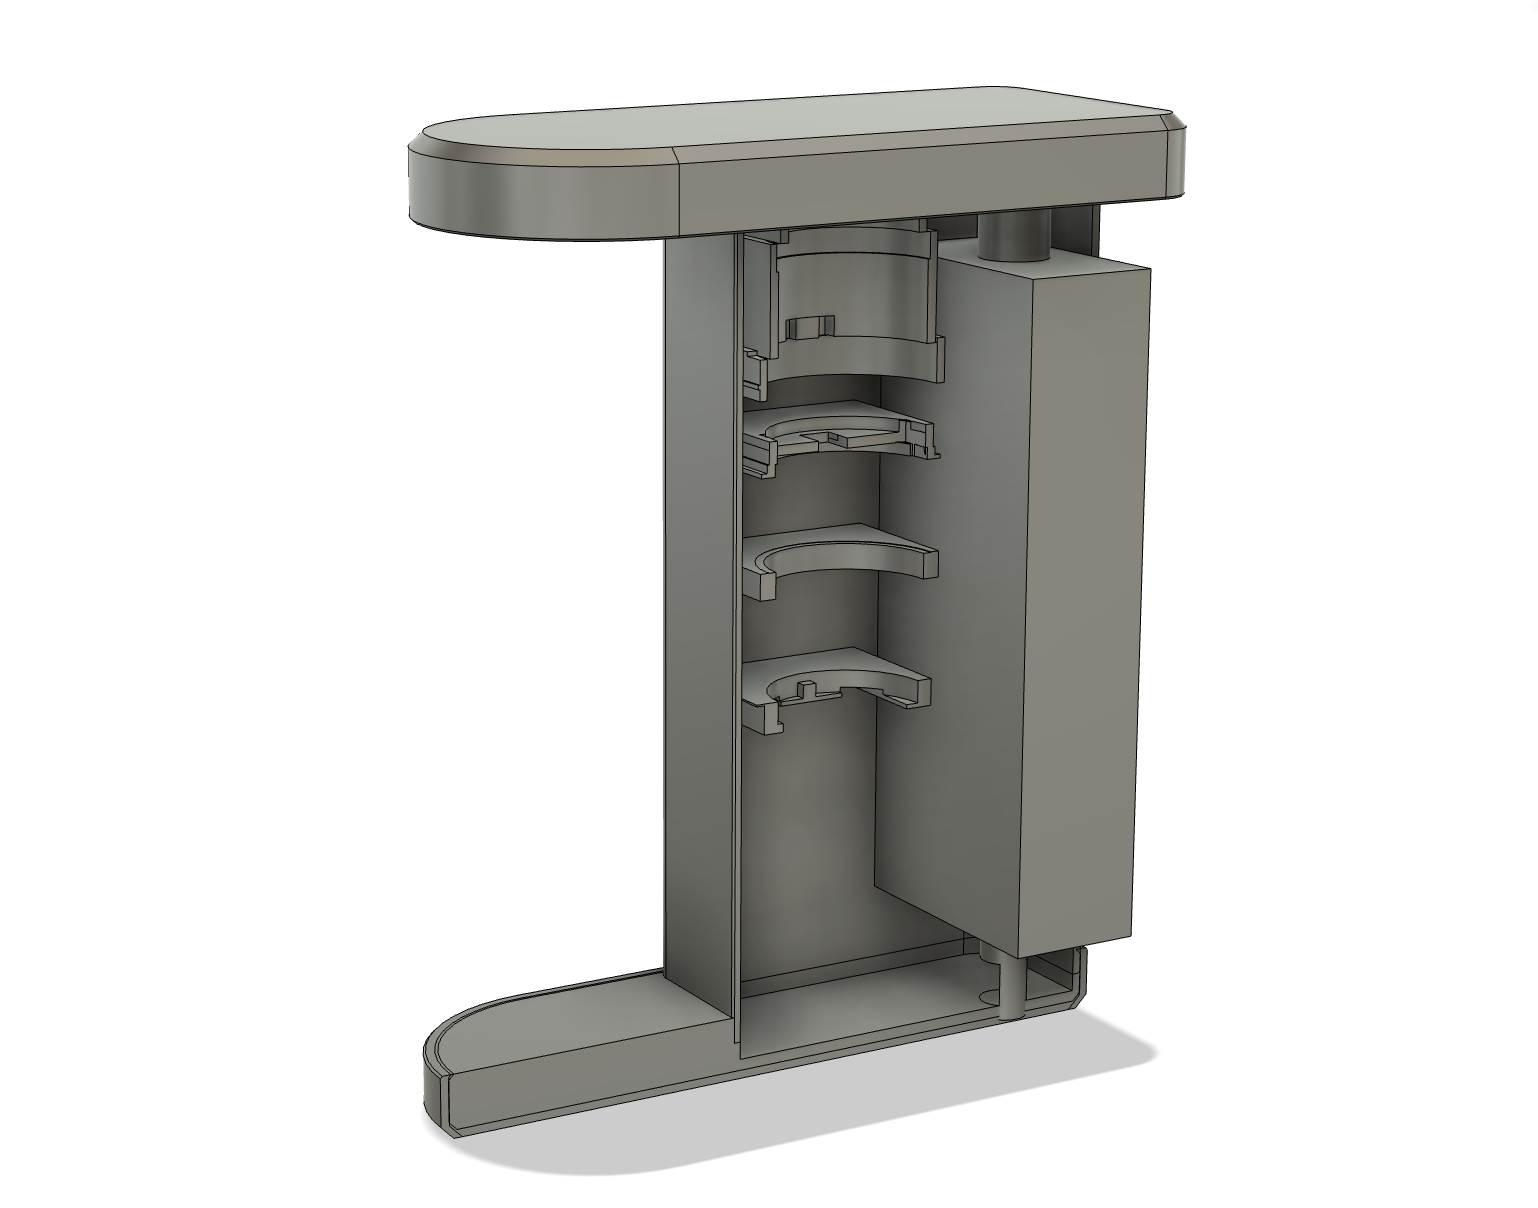
It should house a power brick providing 100 w
It should house a powerful gear motor with an RPM of about 60-120
It should house electronics for controlling the motor
It should be operated by a switch or rotating knob
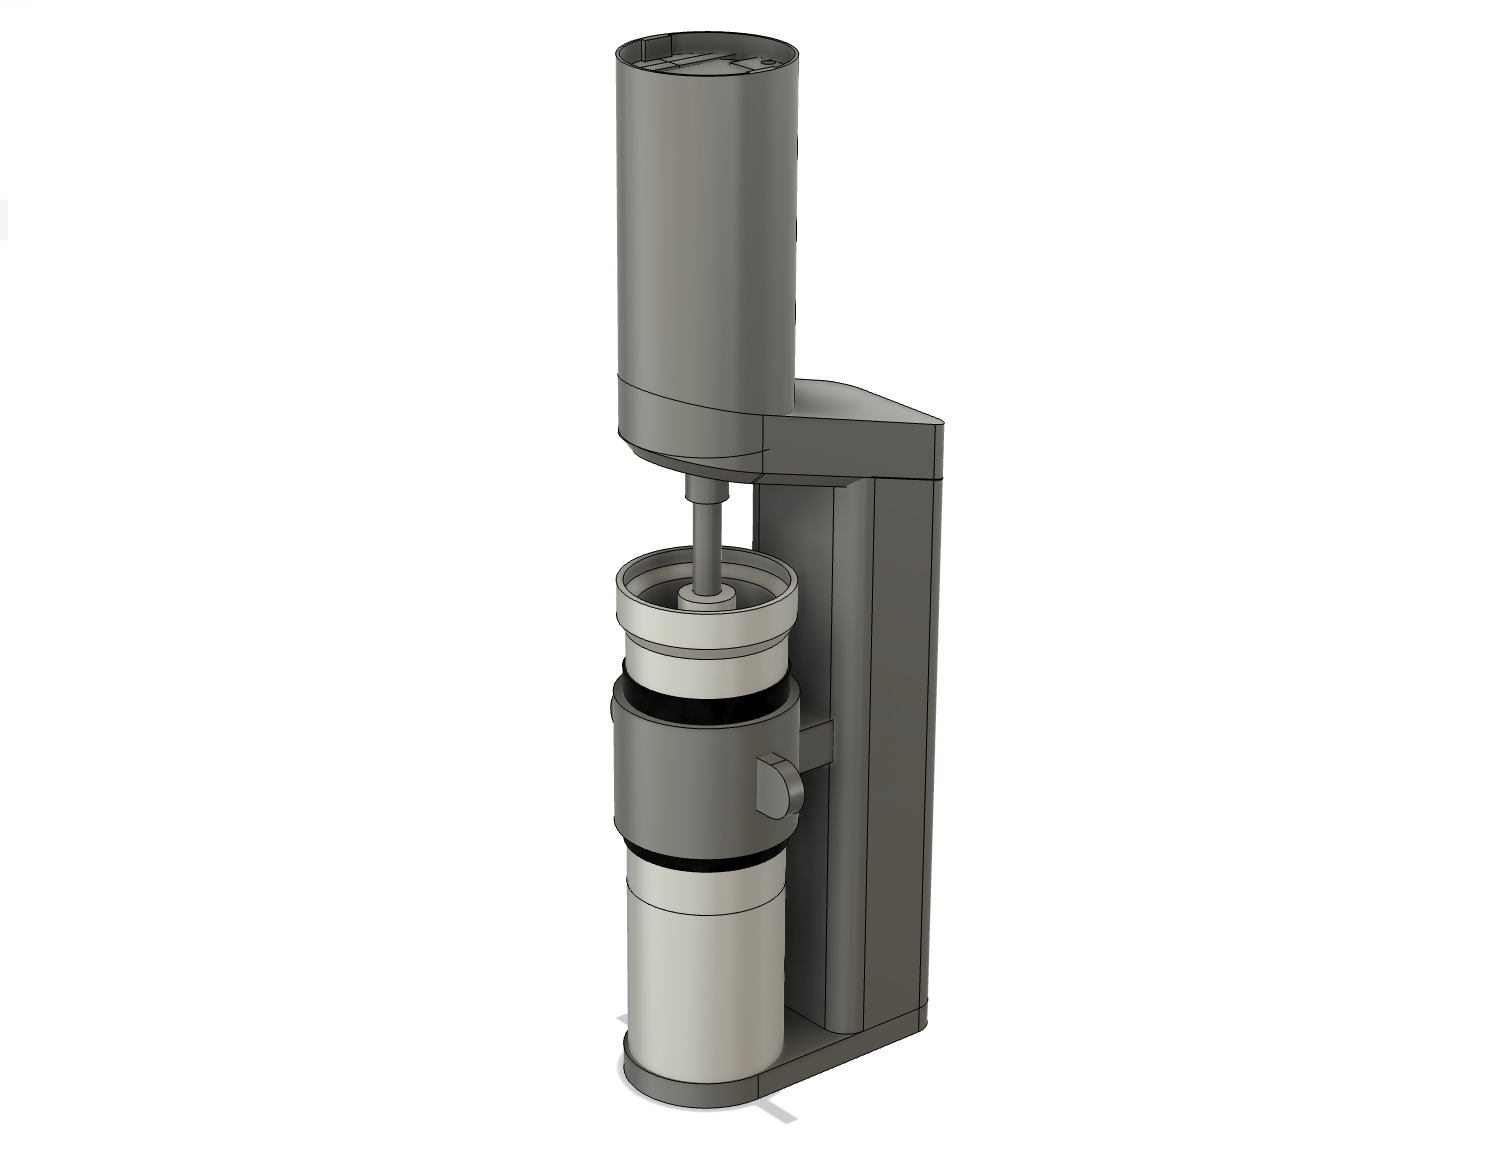
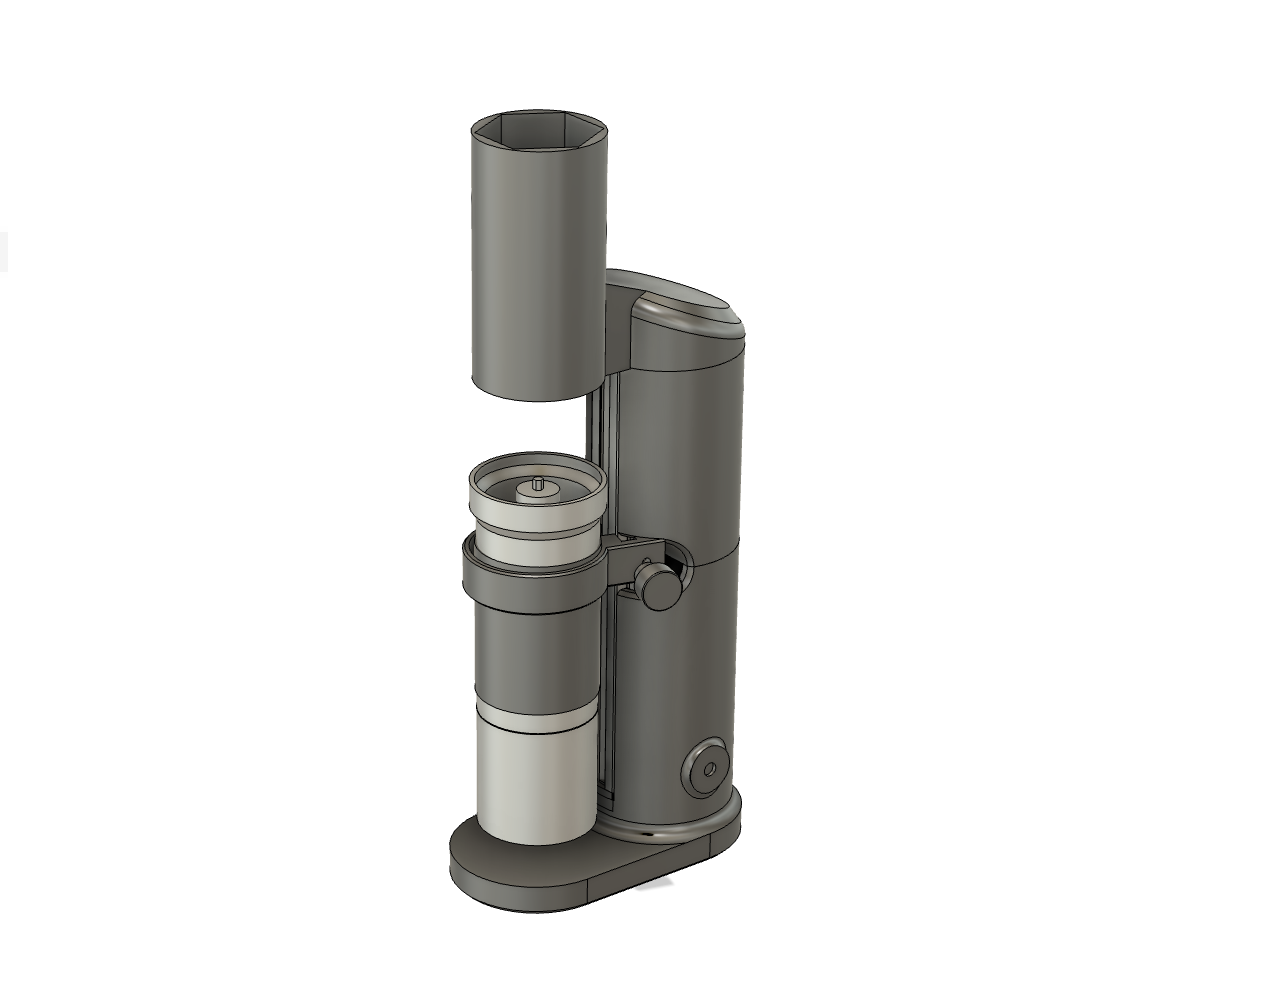
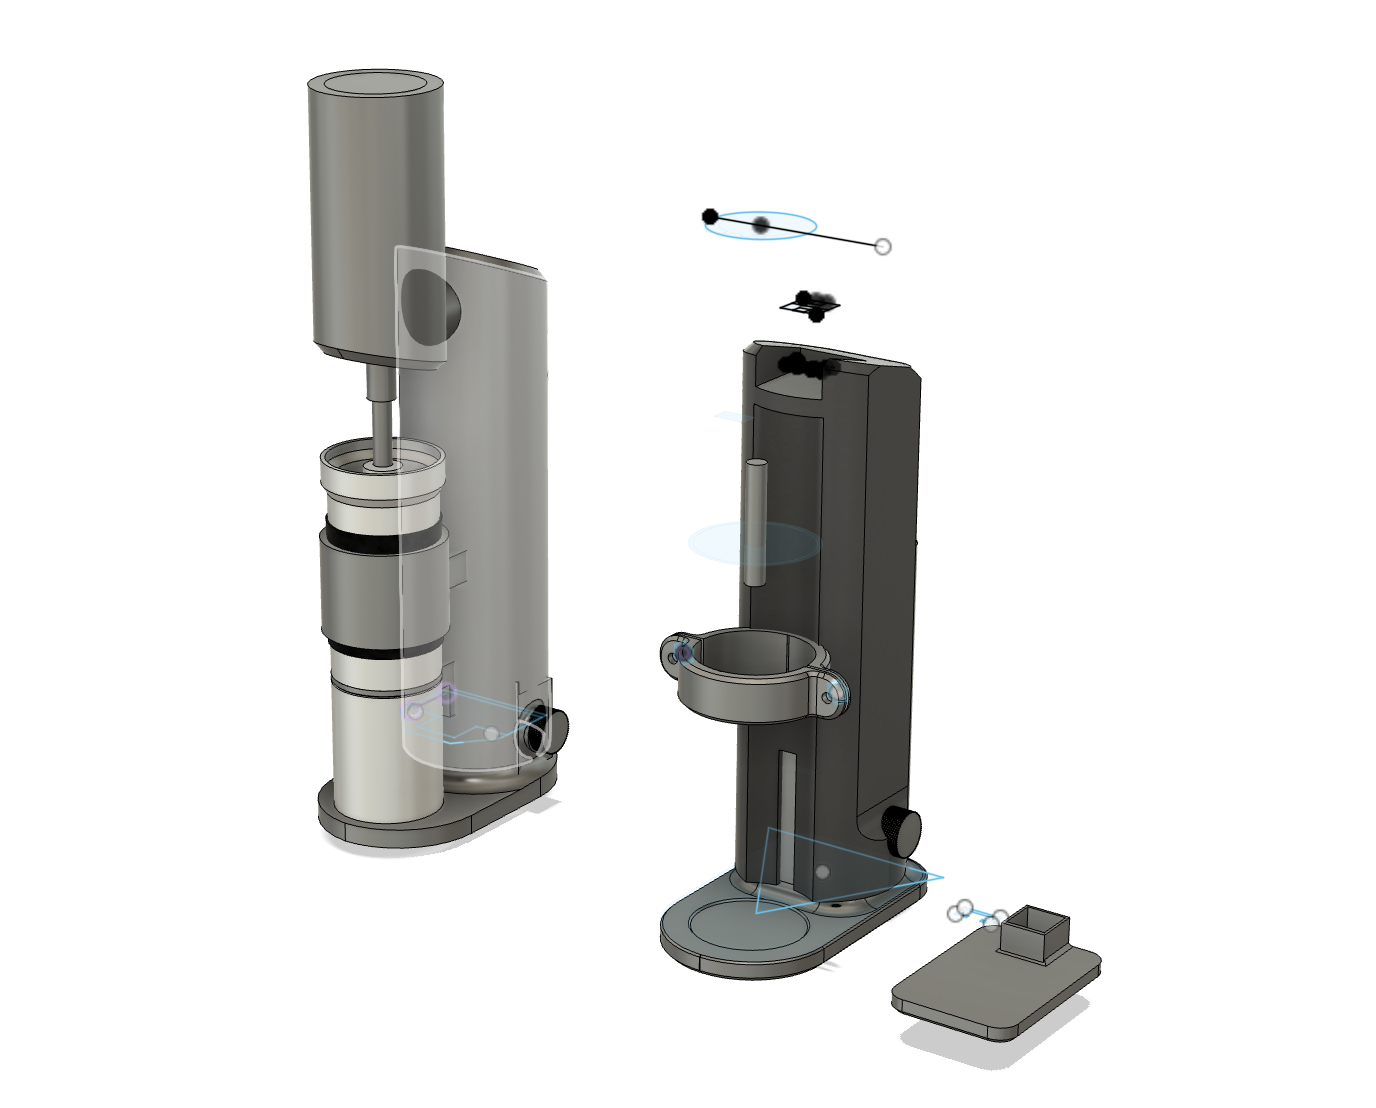
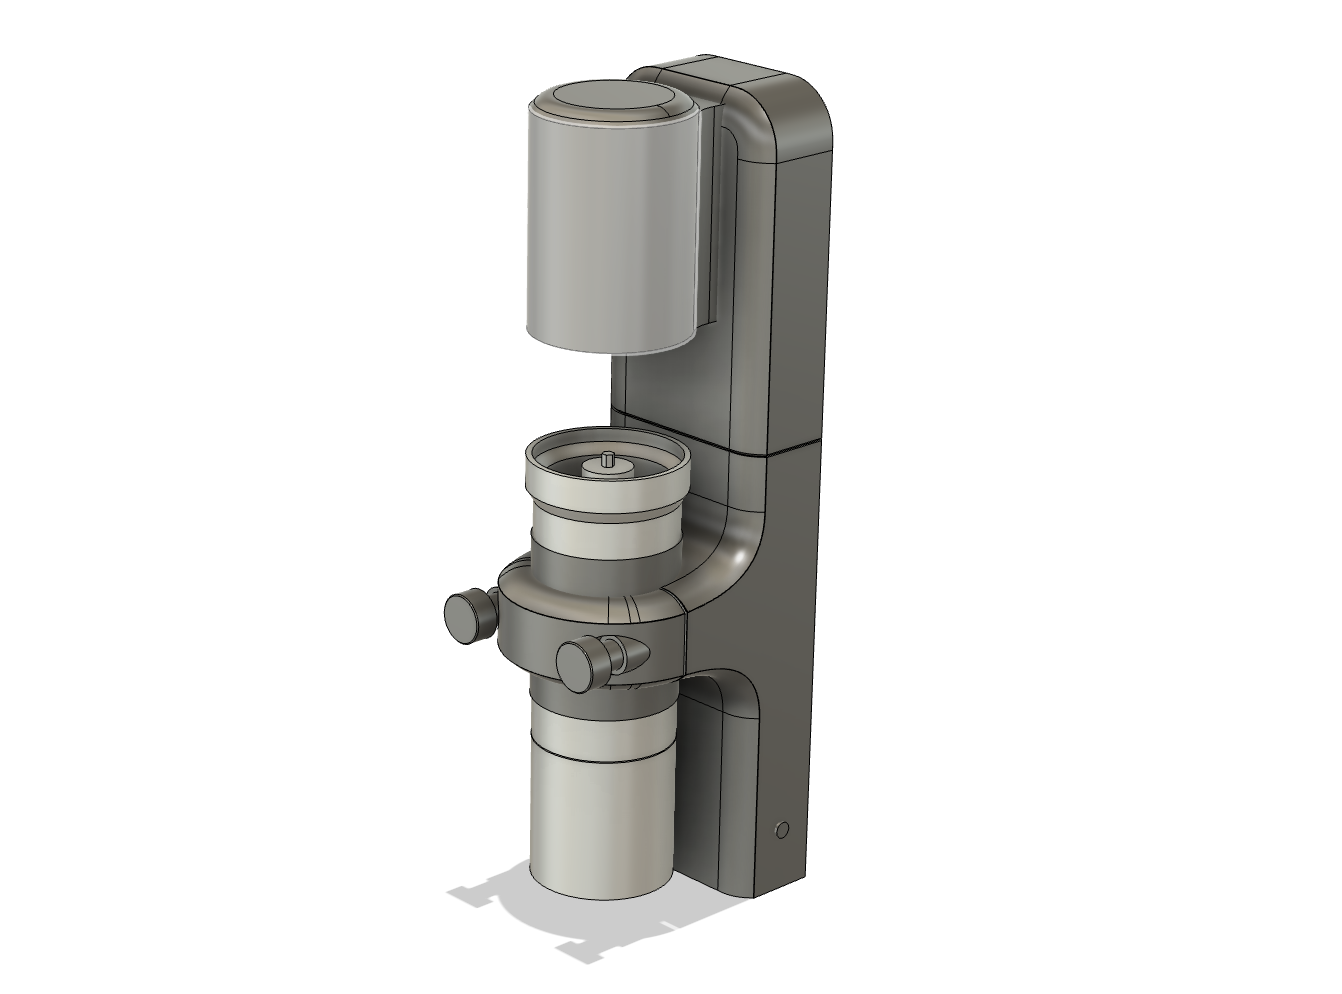
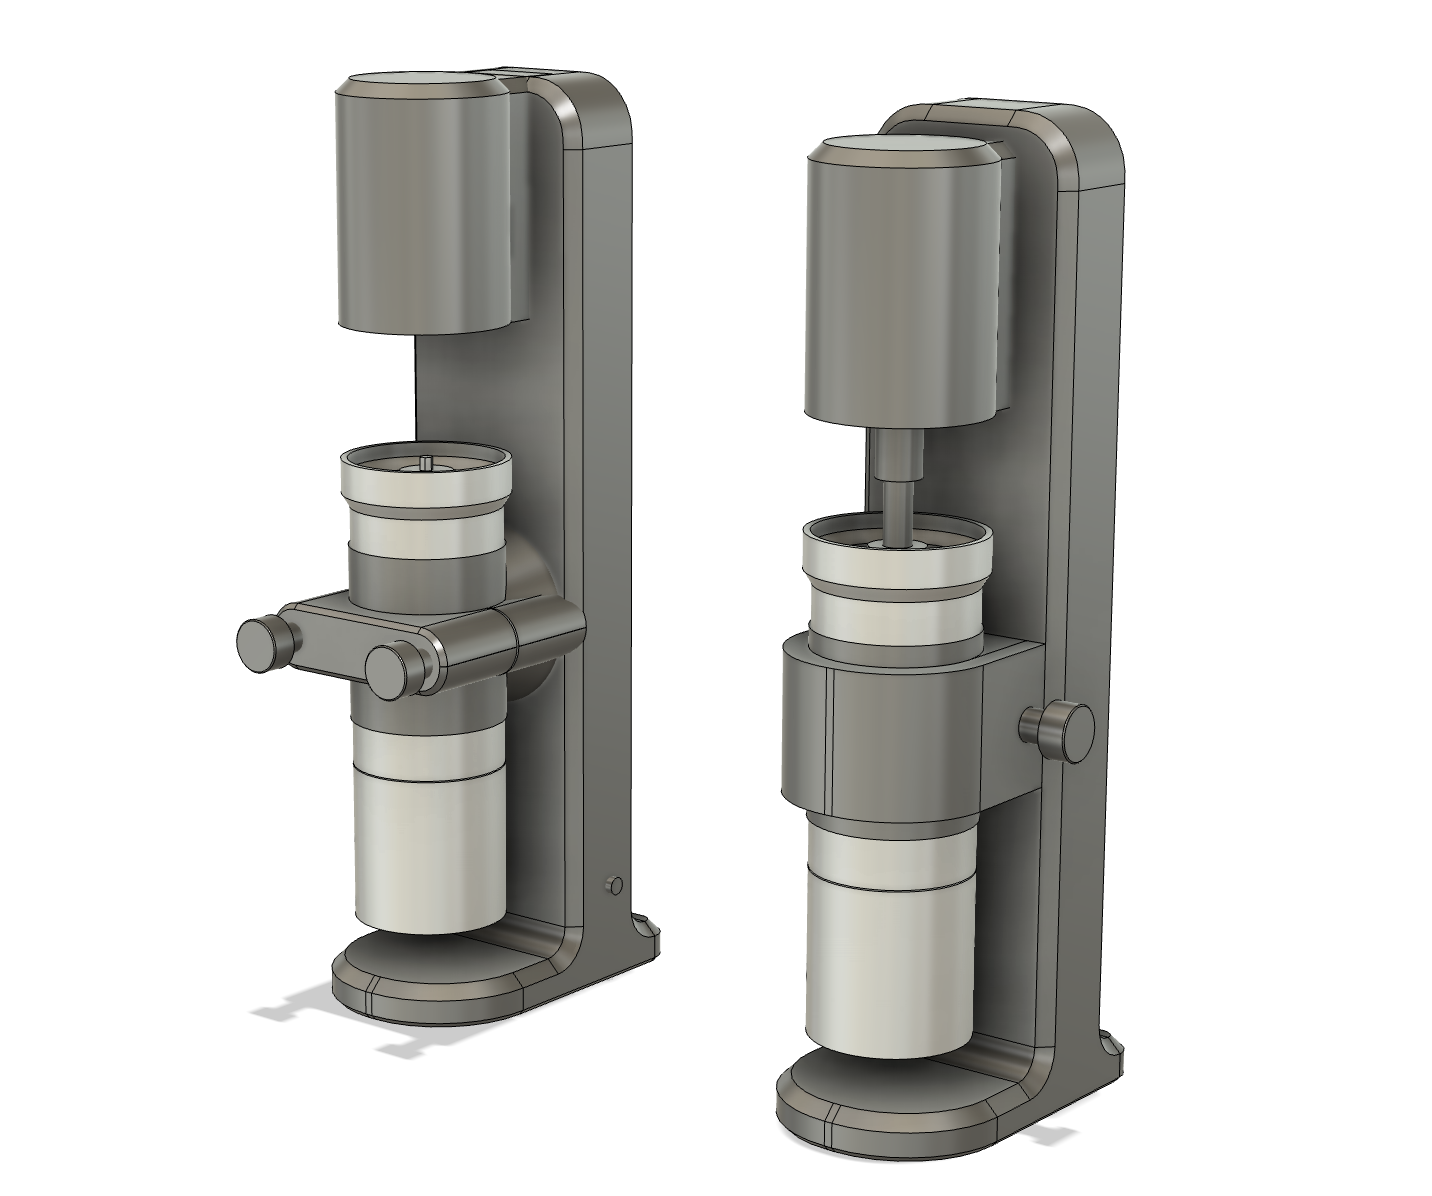
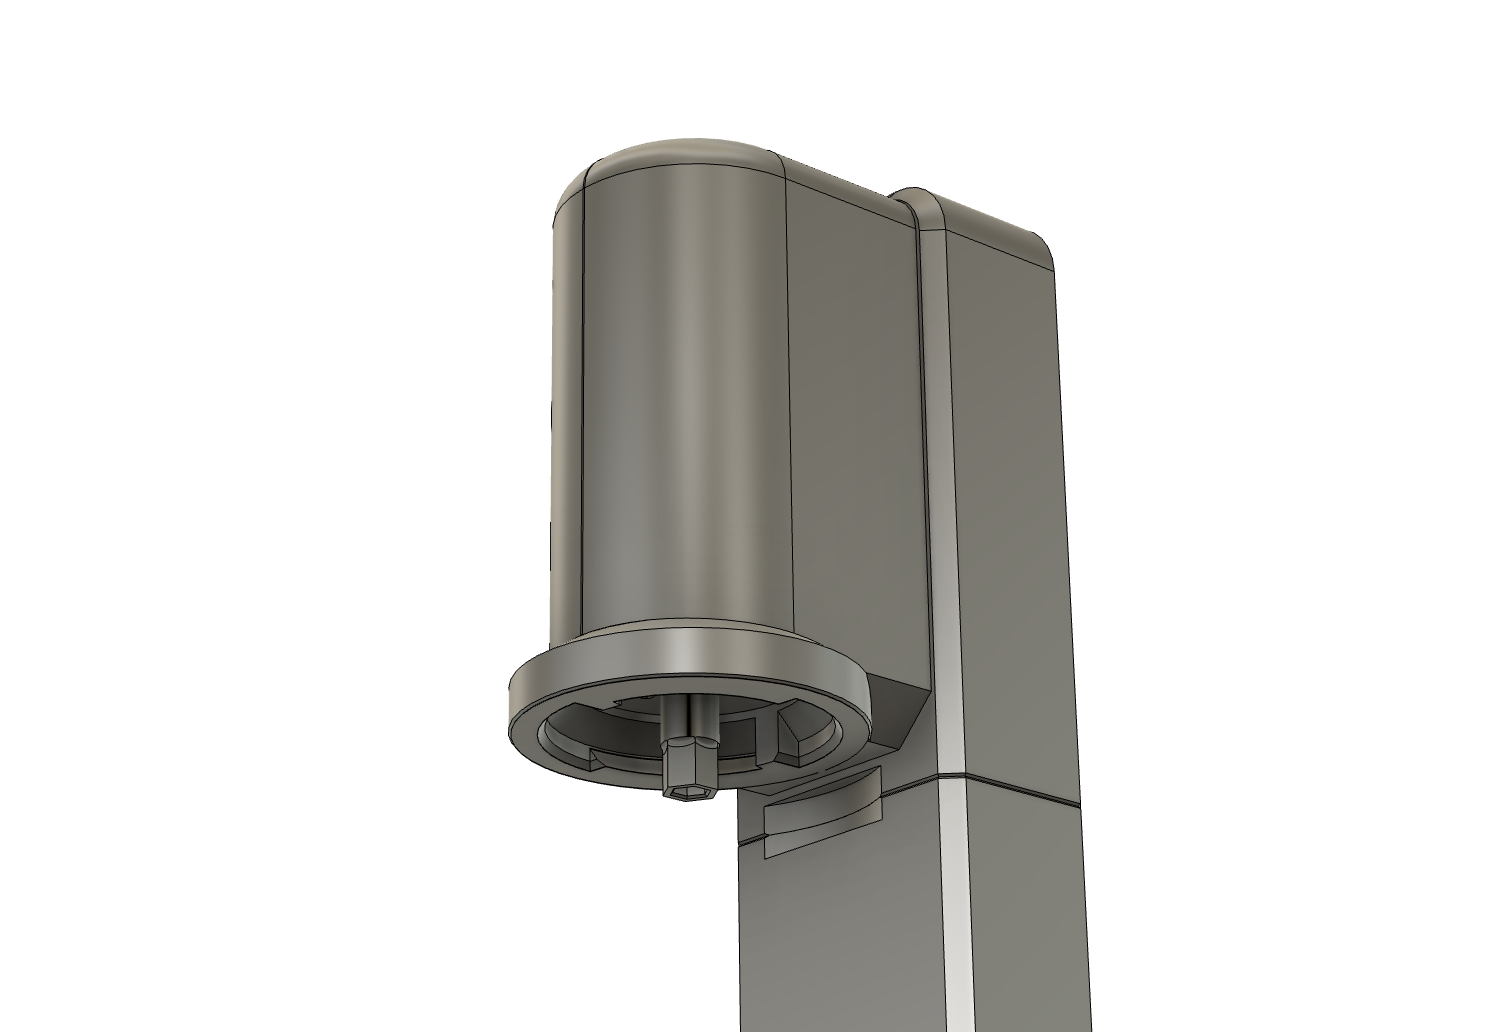
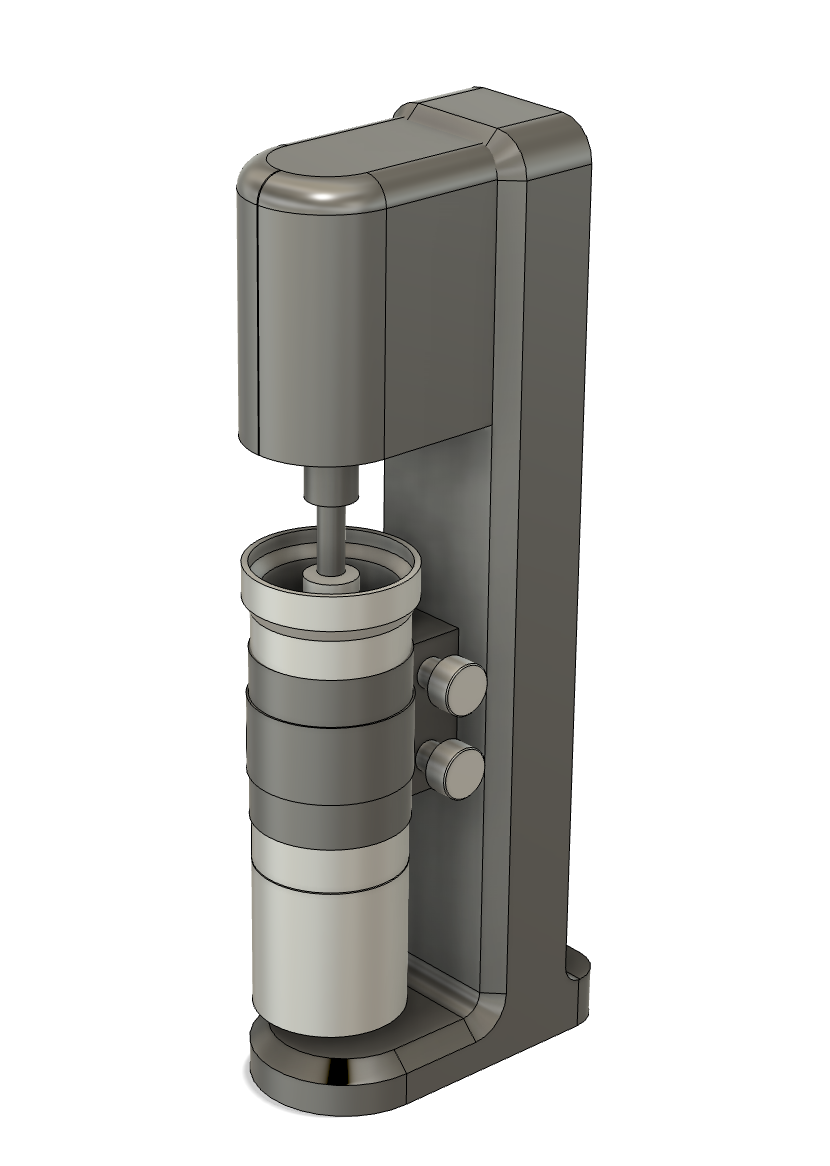
Prototyping
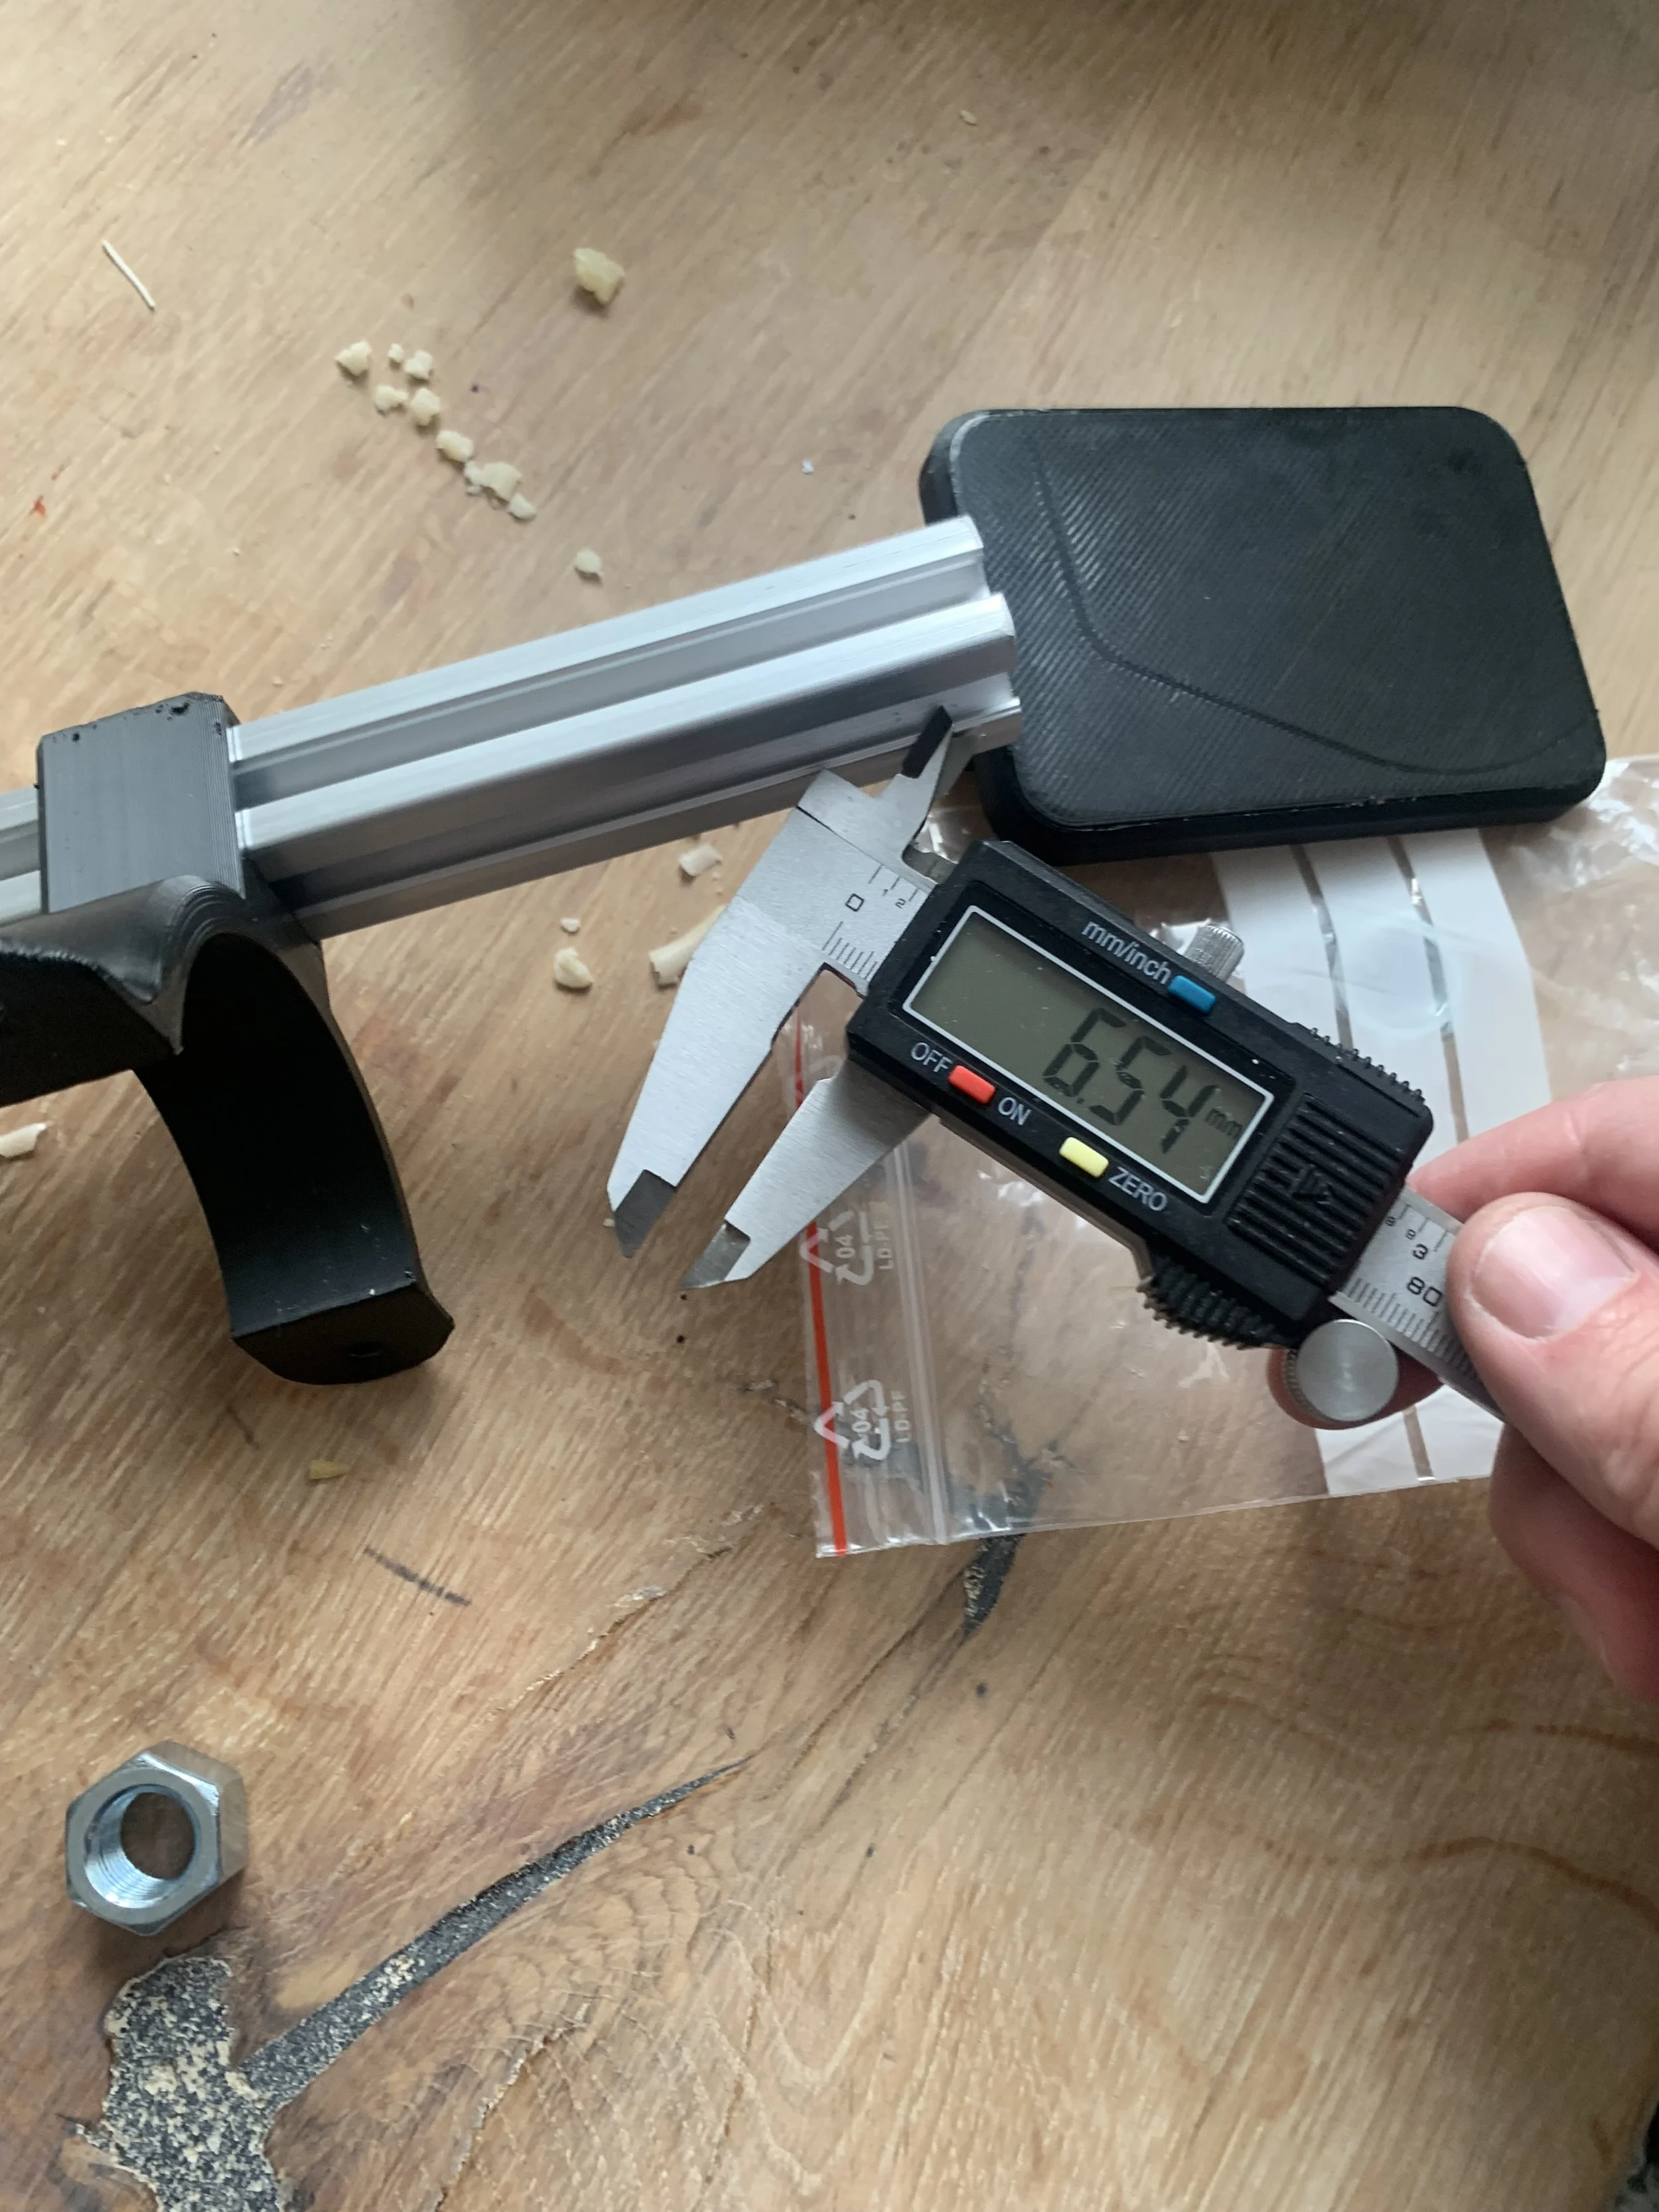
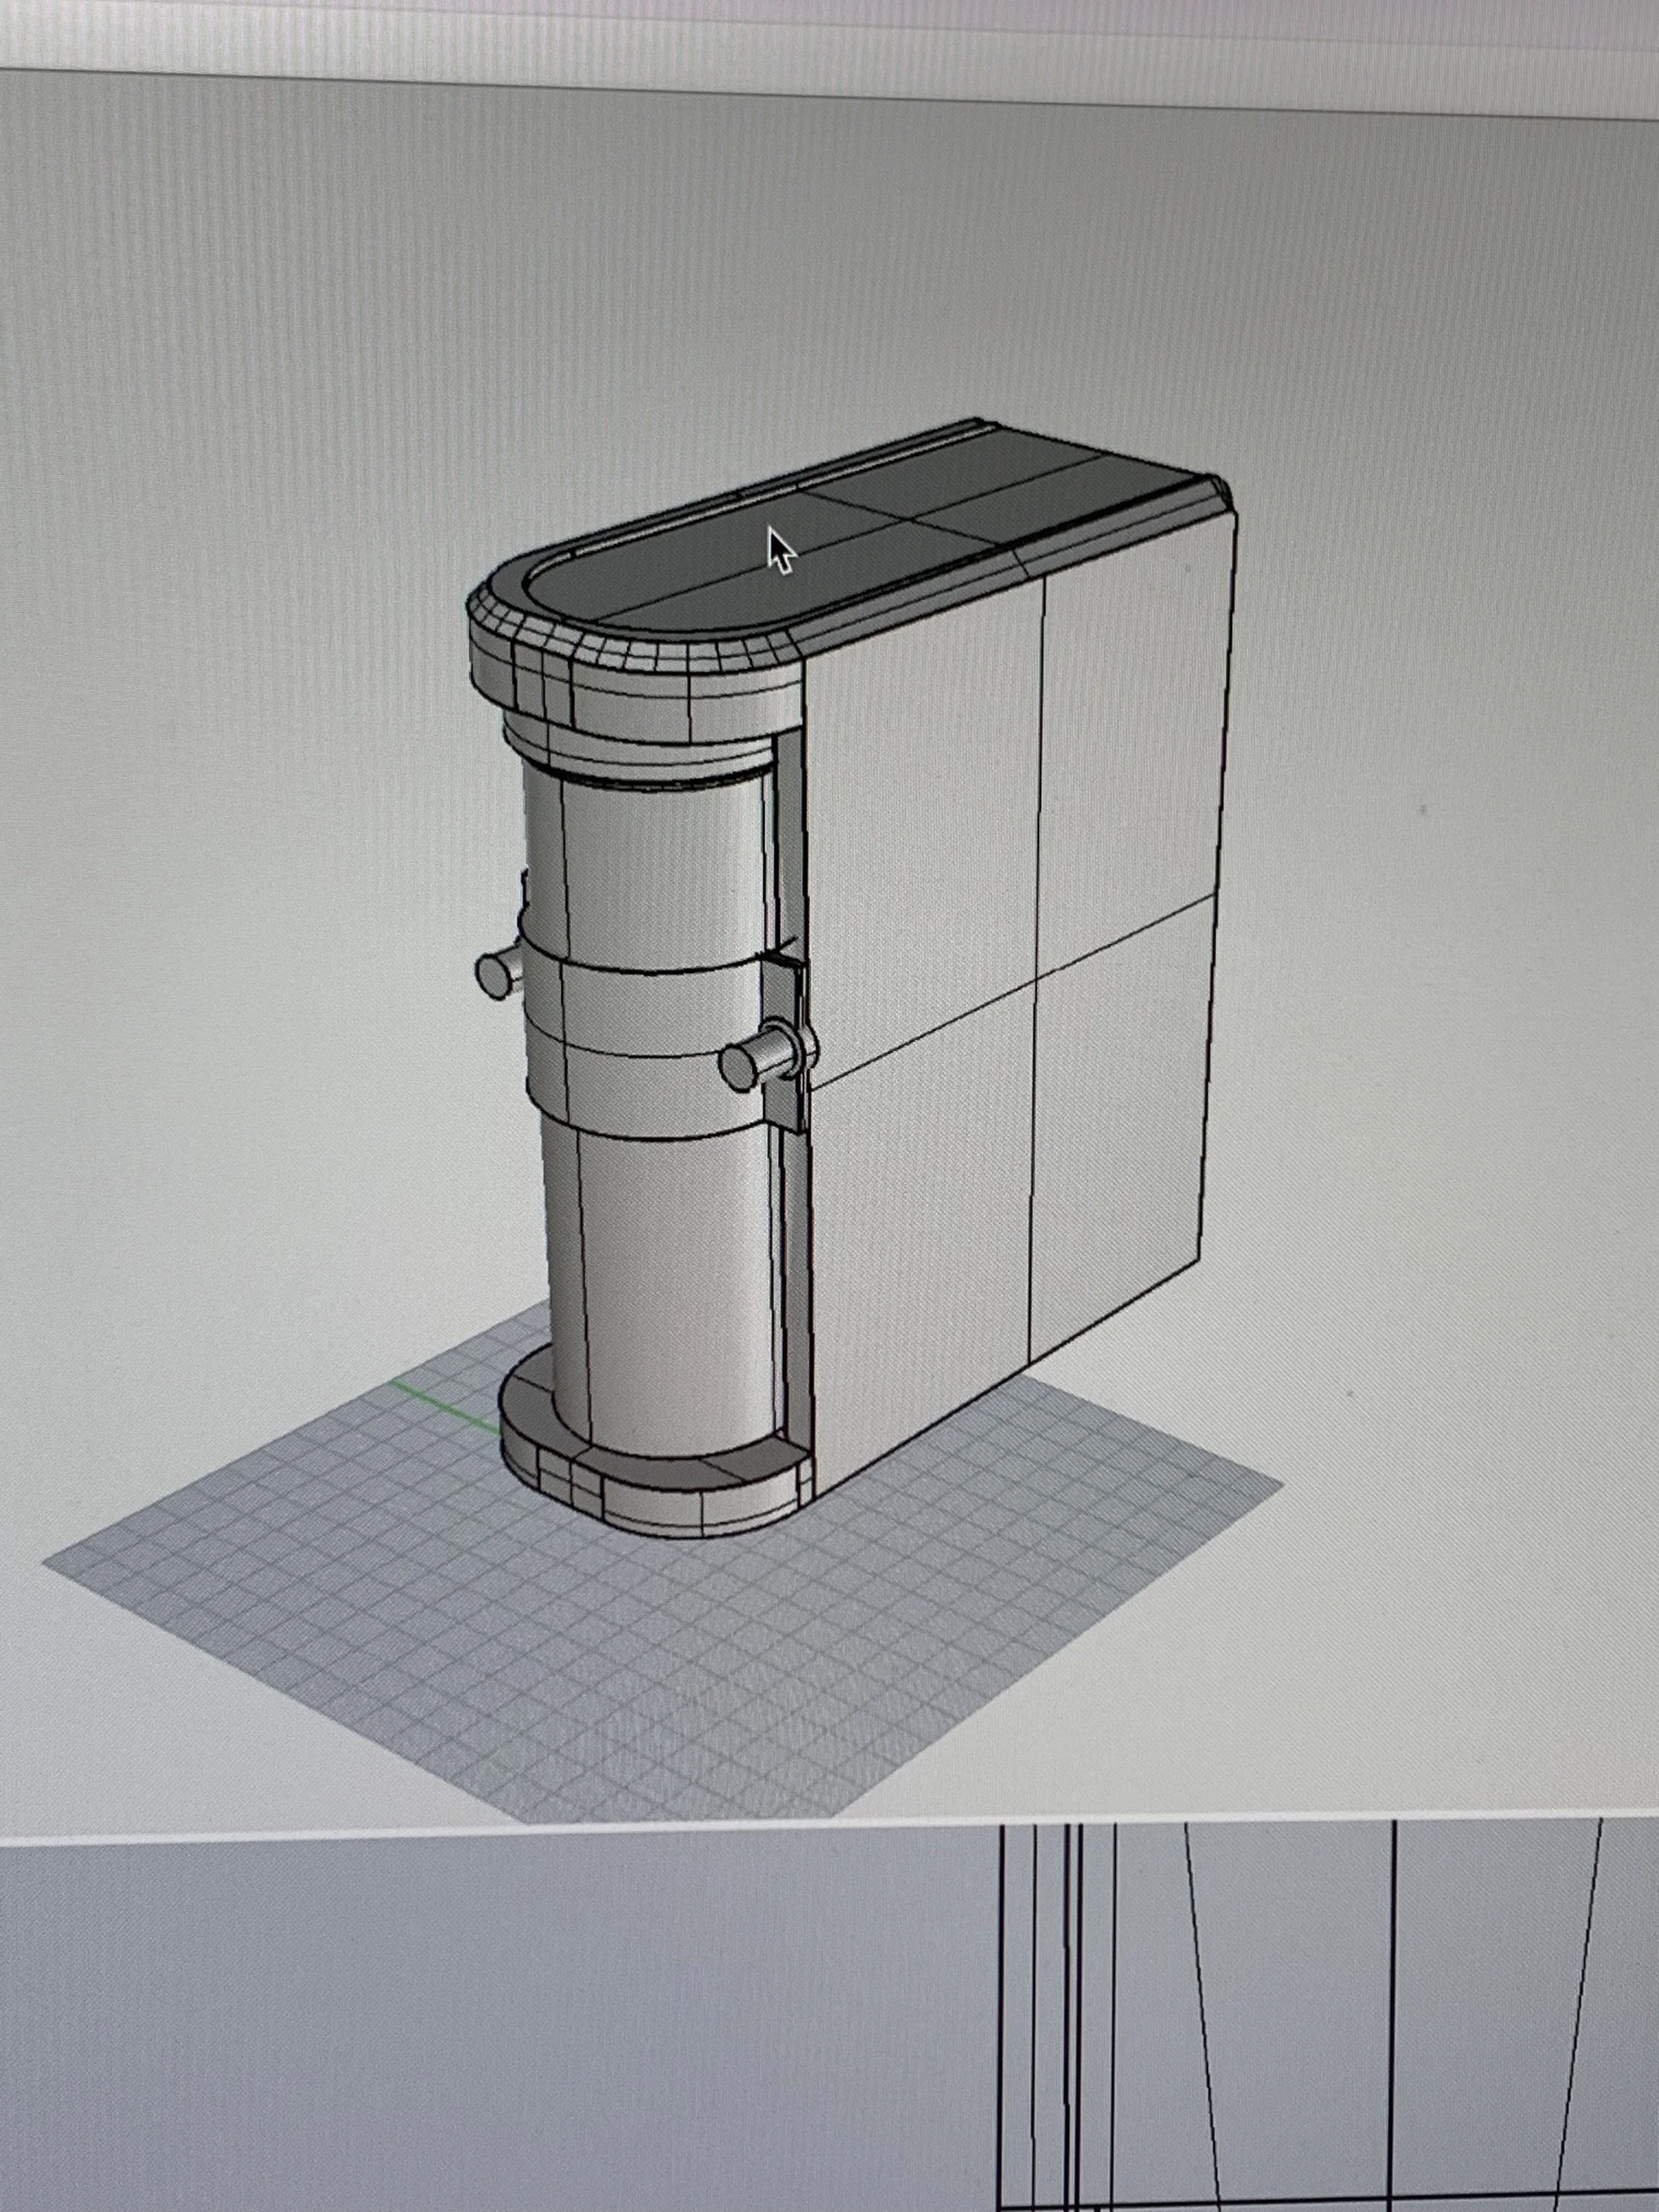
Early prototypes relied on aluminum extrusions to increase stiffness of the 3d-prints
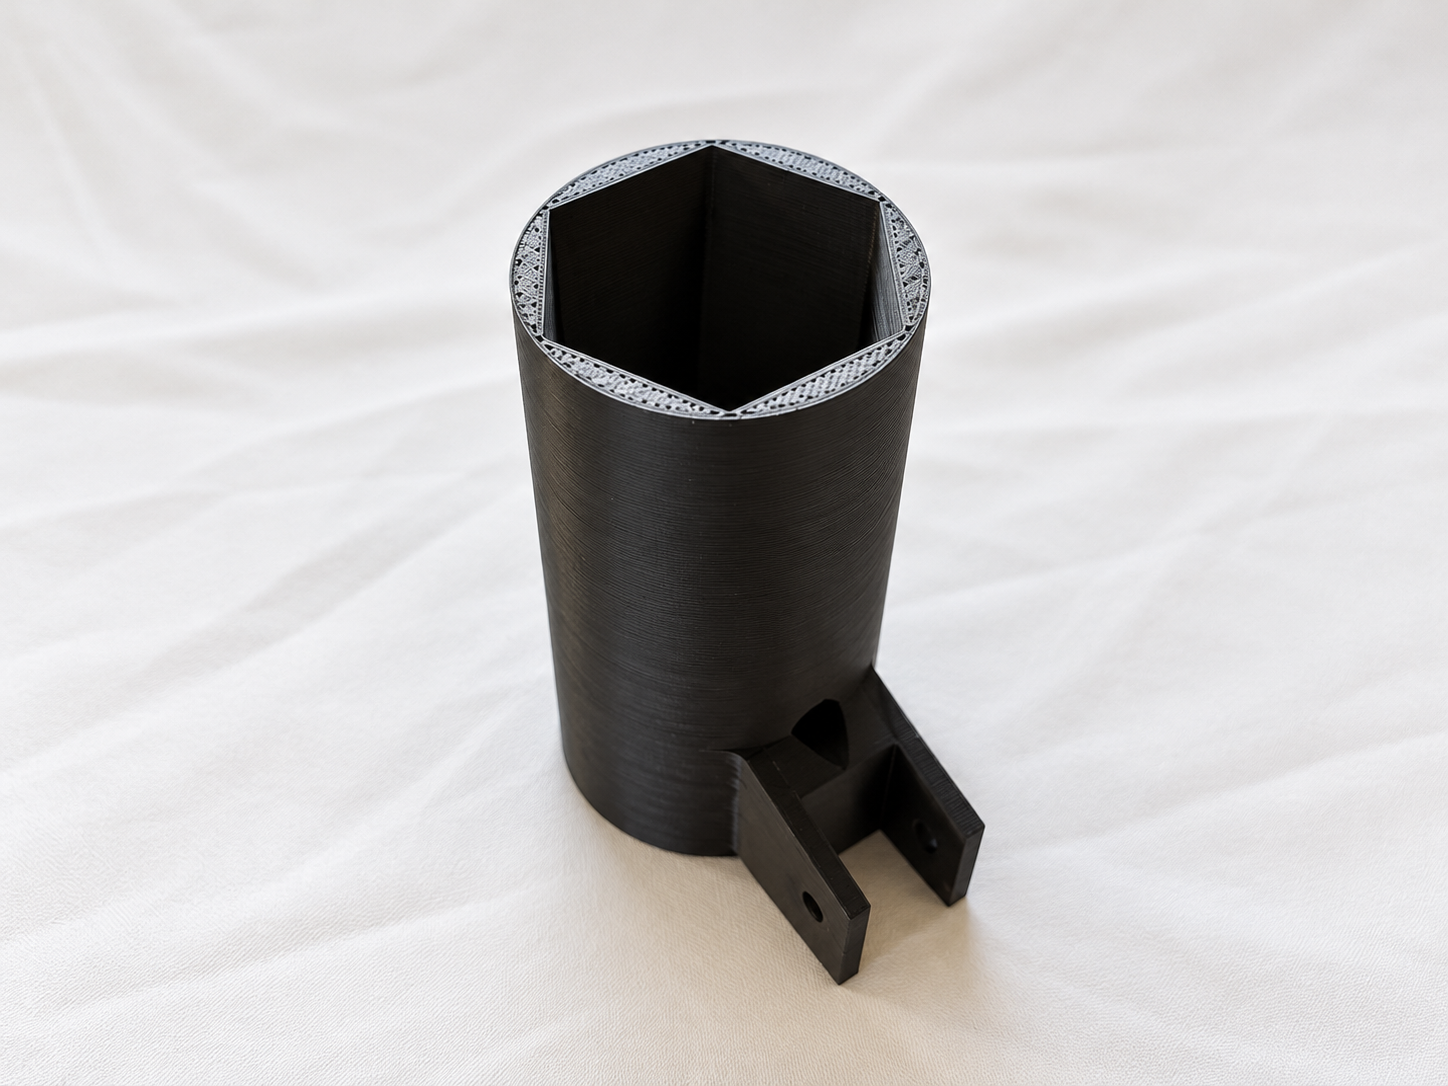
A part that holds the motor and is meant to be attached to an aluminum extrusion
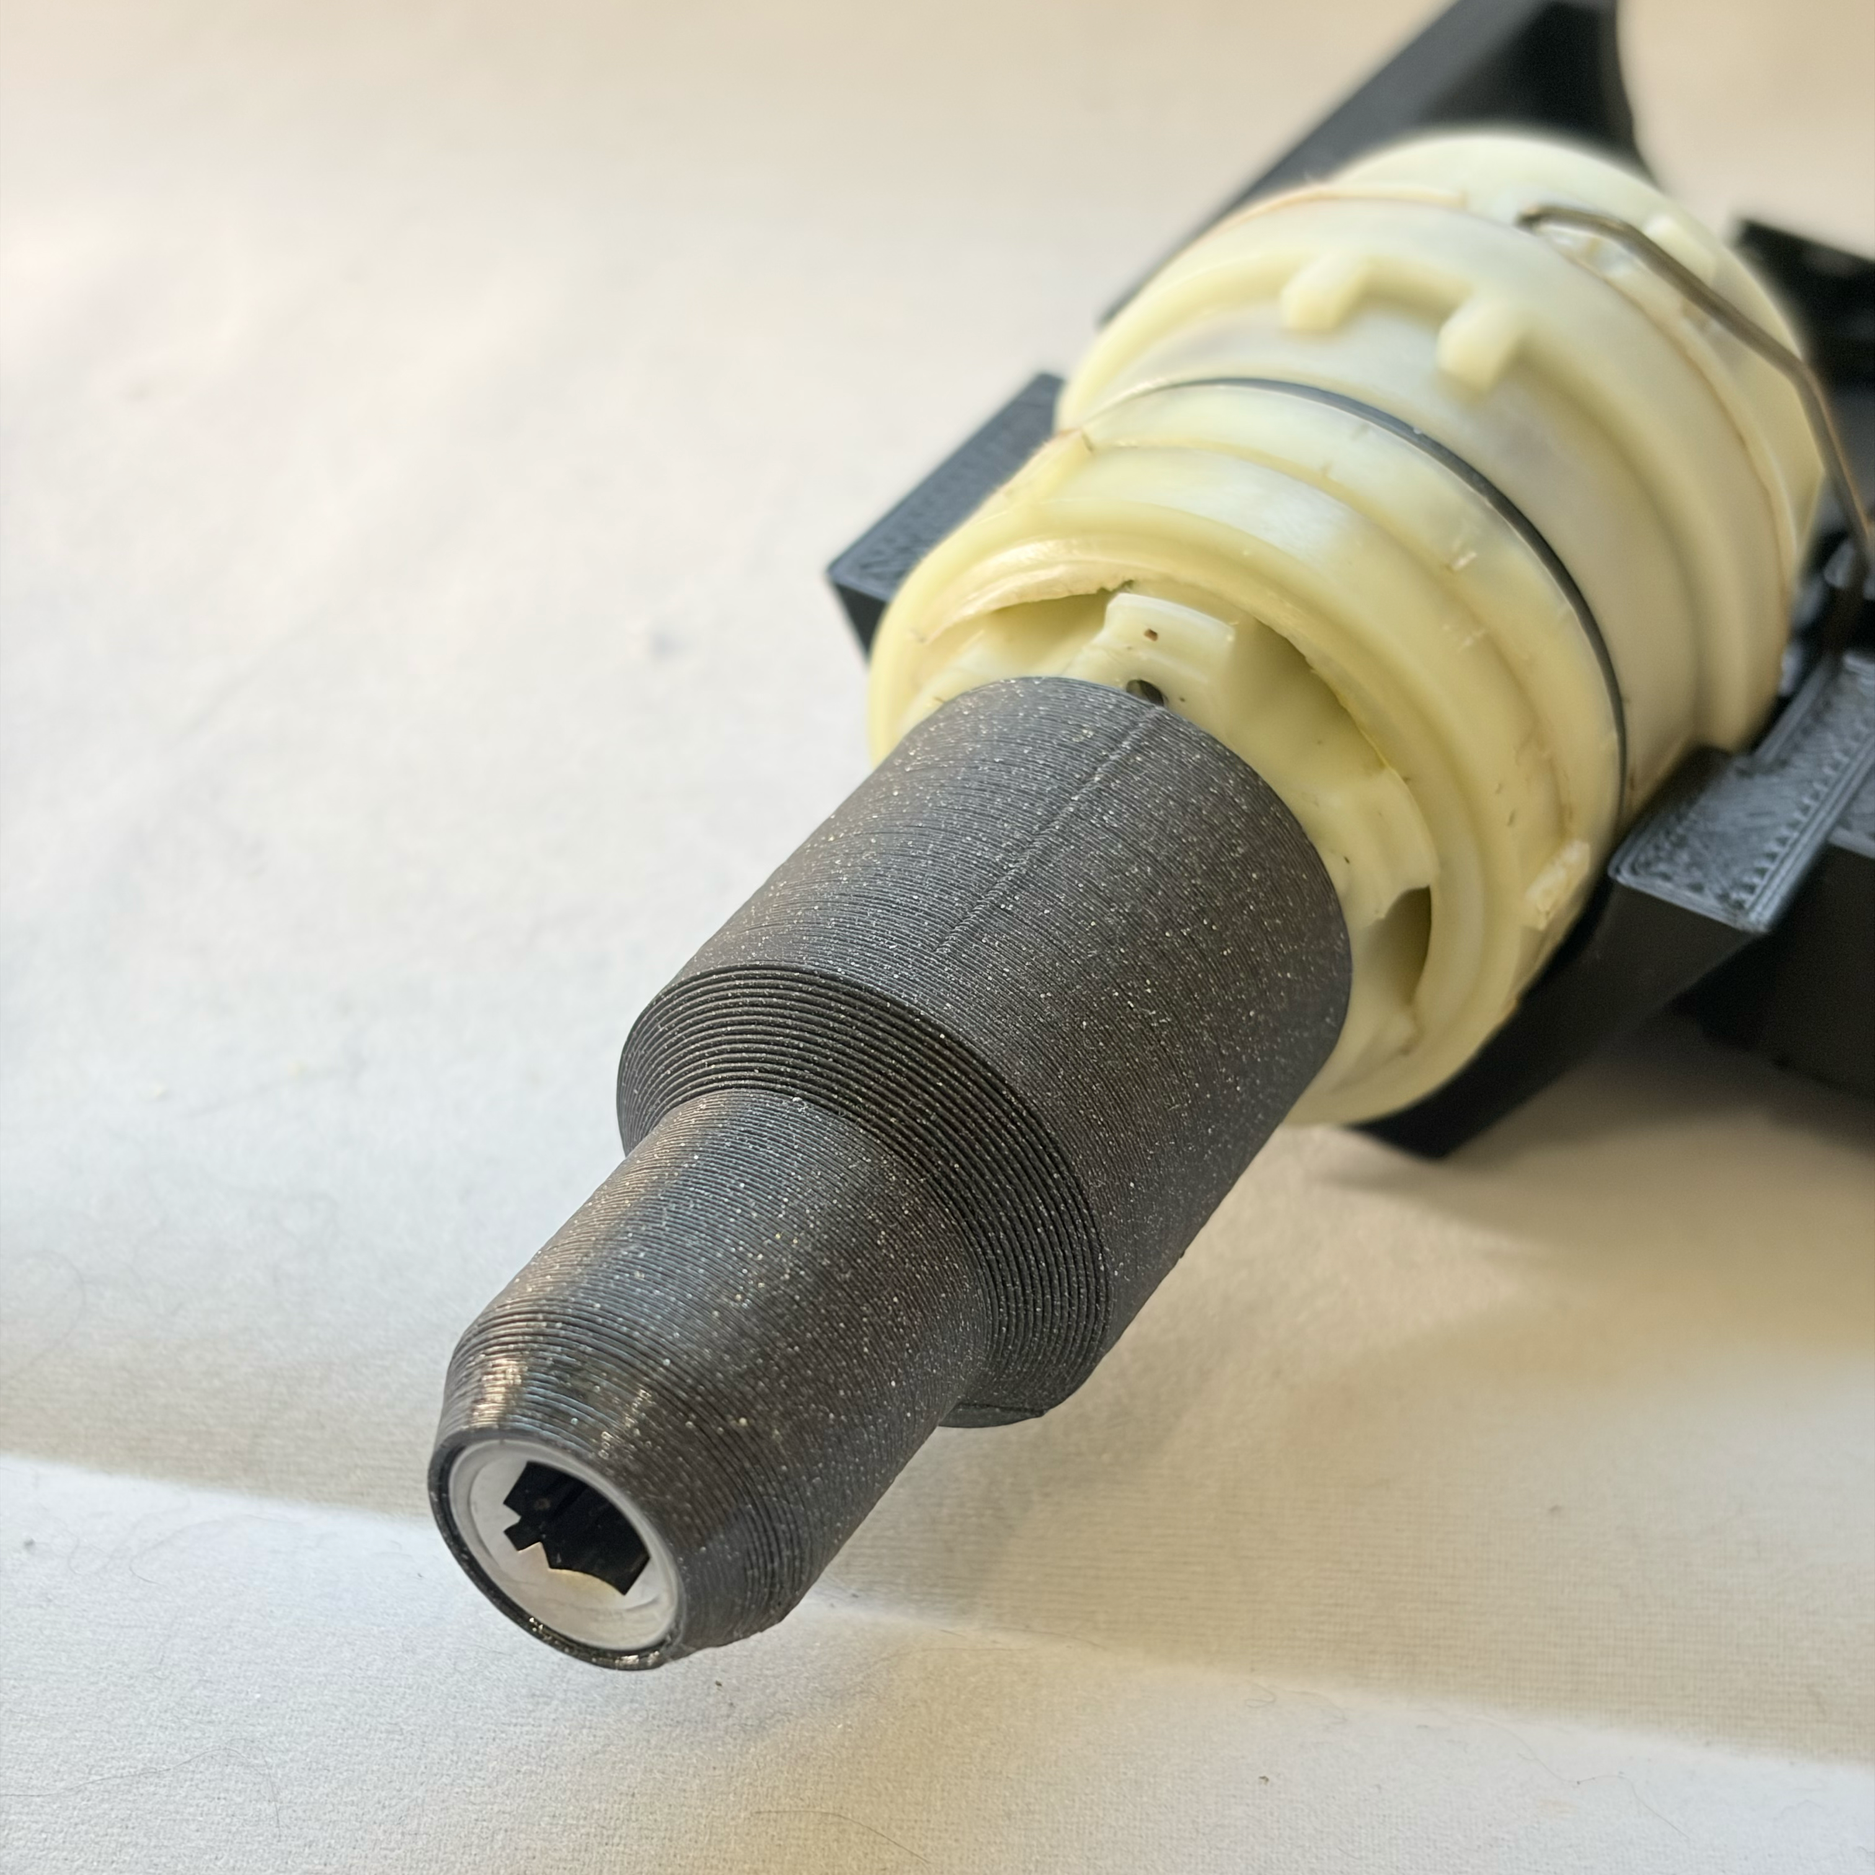
Adapter for connecting the motor's d-shaft to the grinder's hex-shaft.
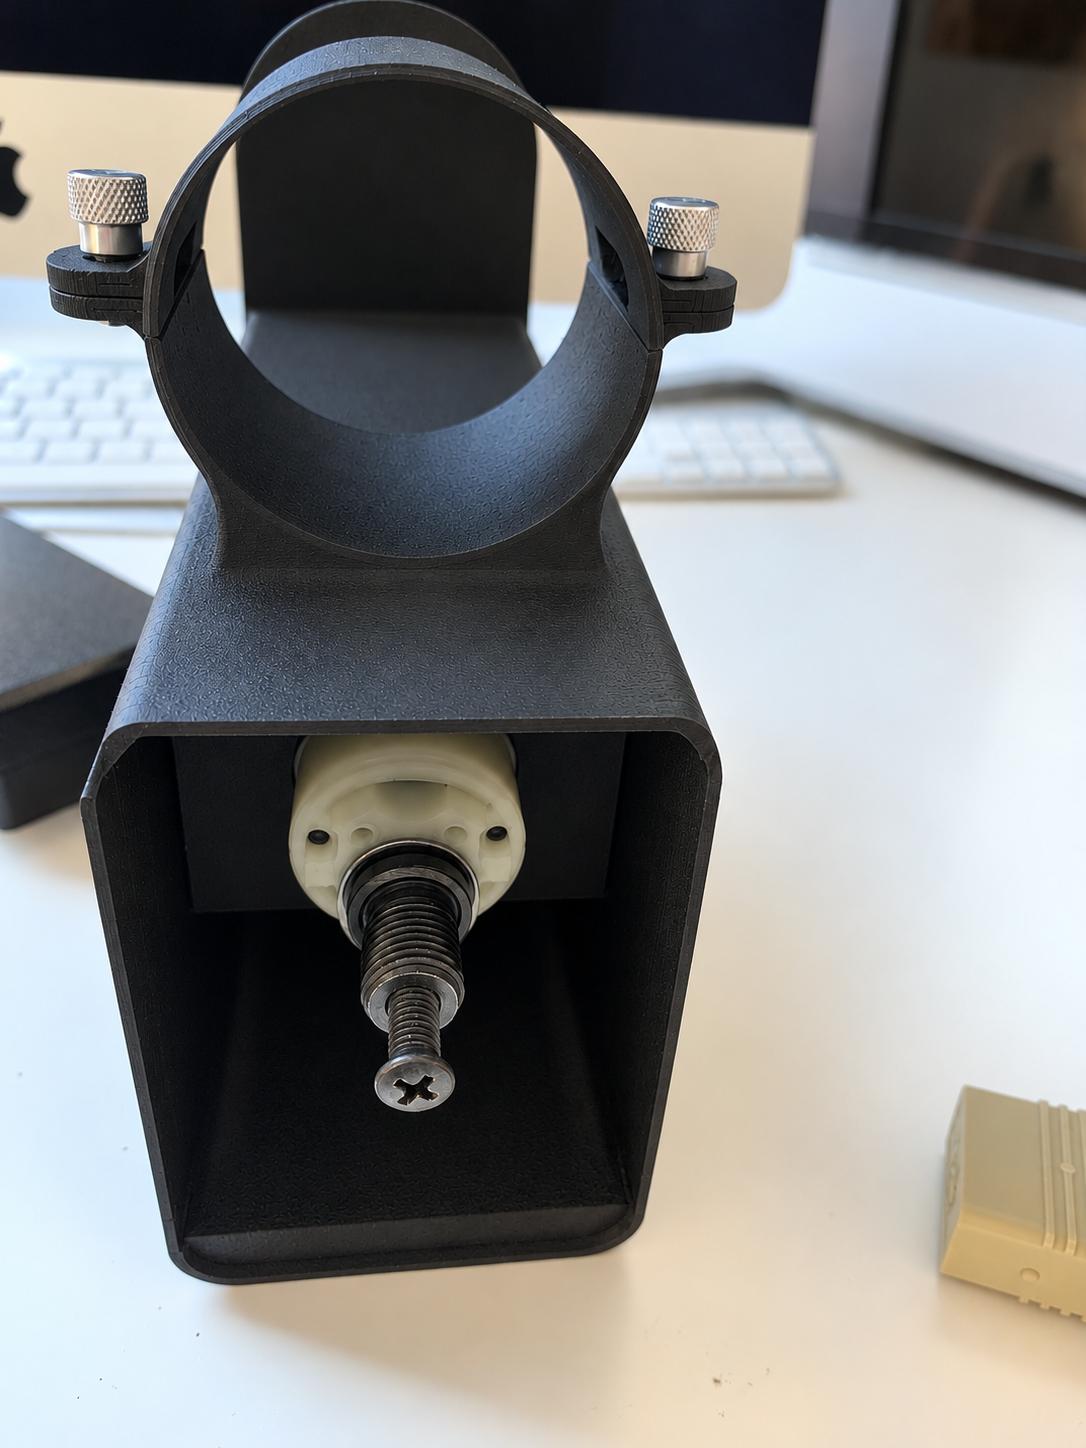
This version clamped the grinder using two aluminum knobs - it was however not strong enough to keep the grinder from spinning when the motor started. Also, it was a slow process to unscrew it.
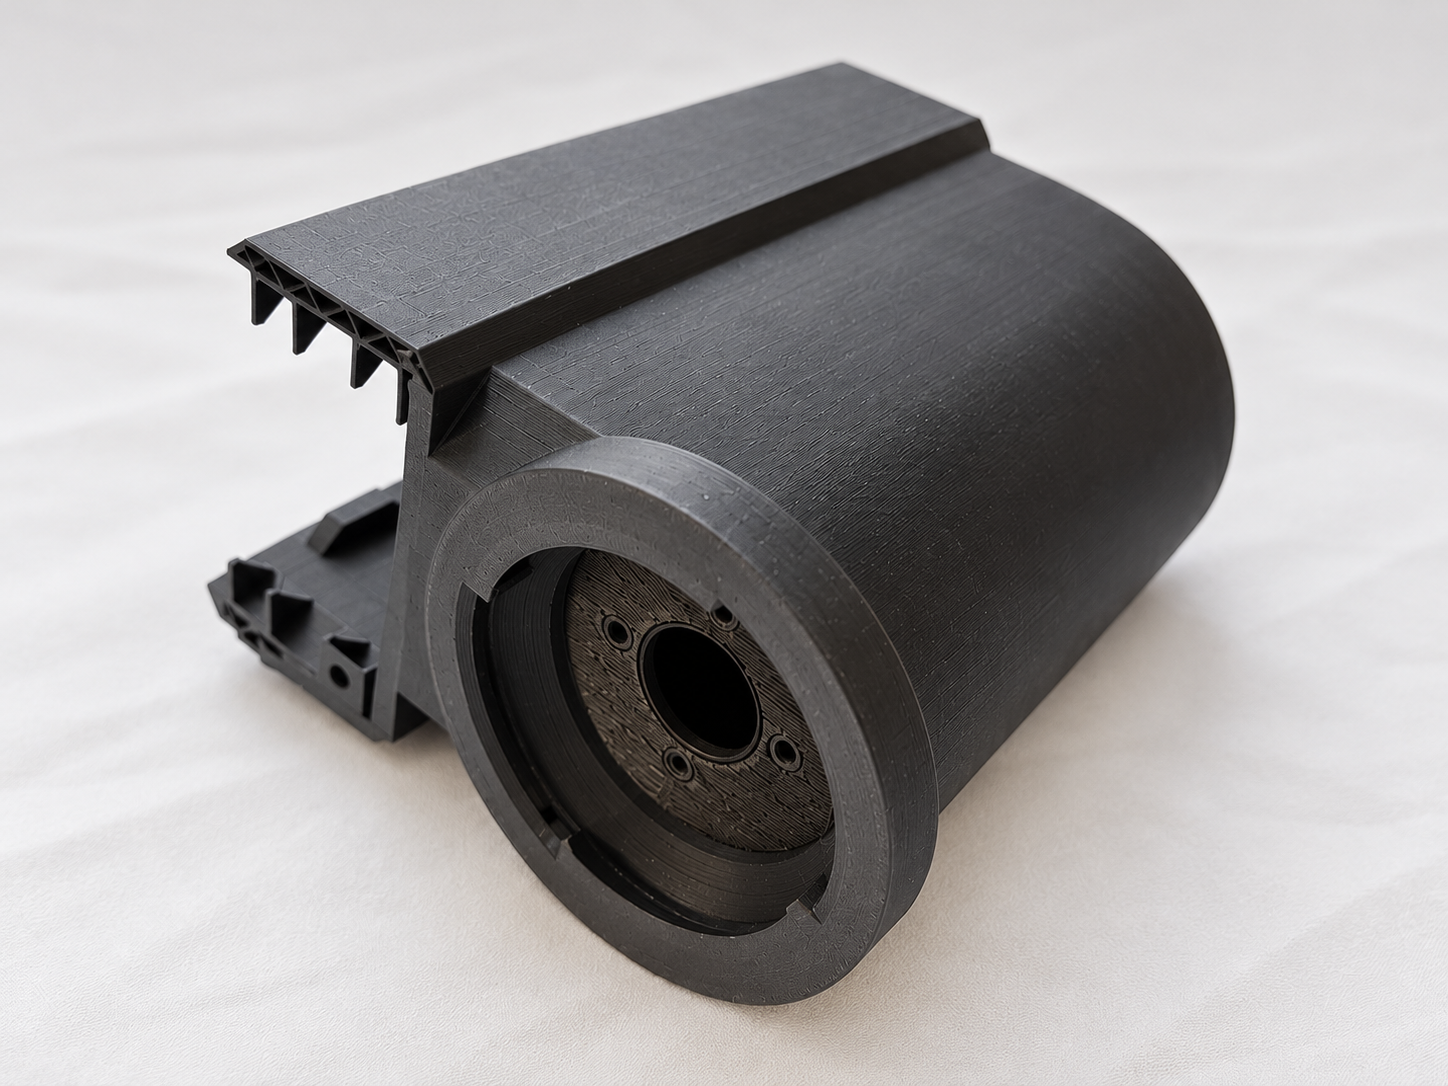
The device had to be printed in two parts and screwed together.
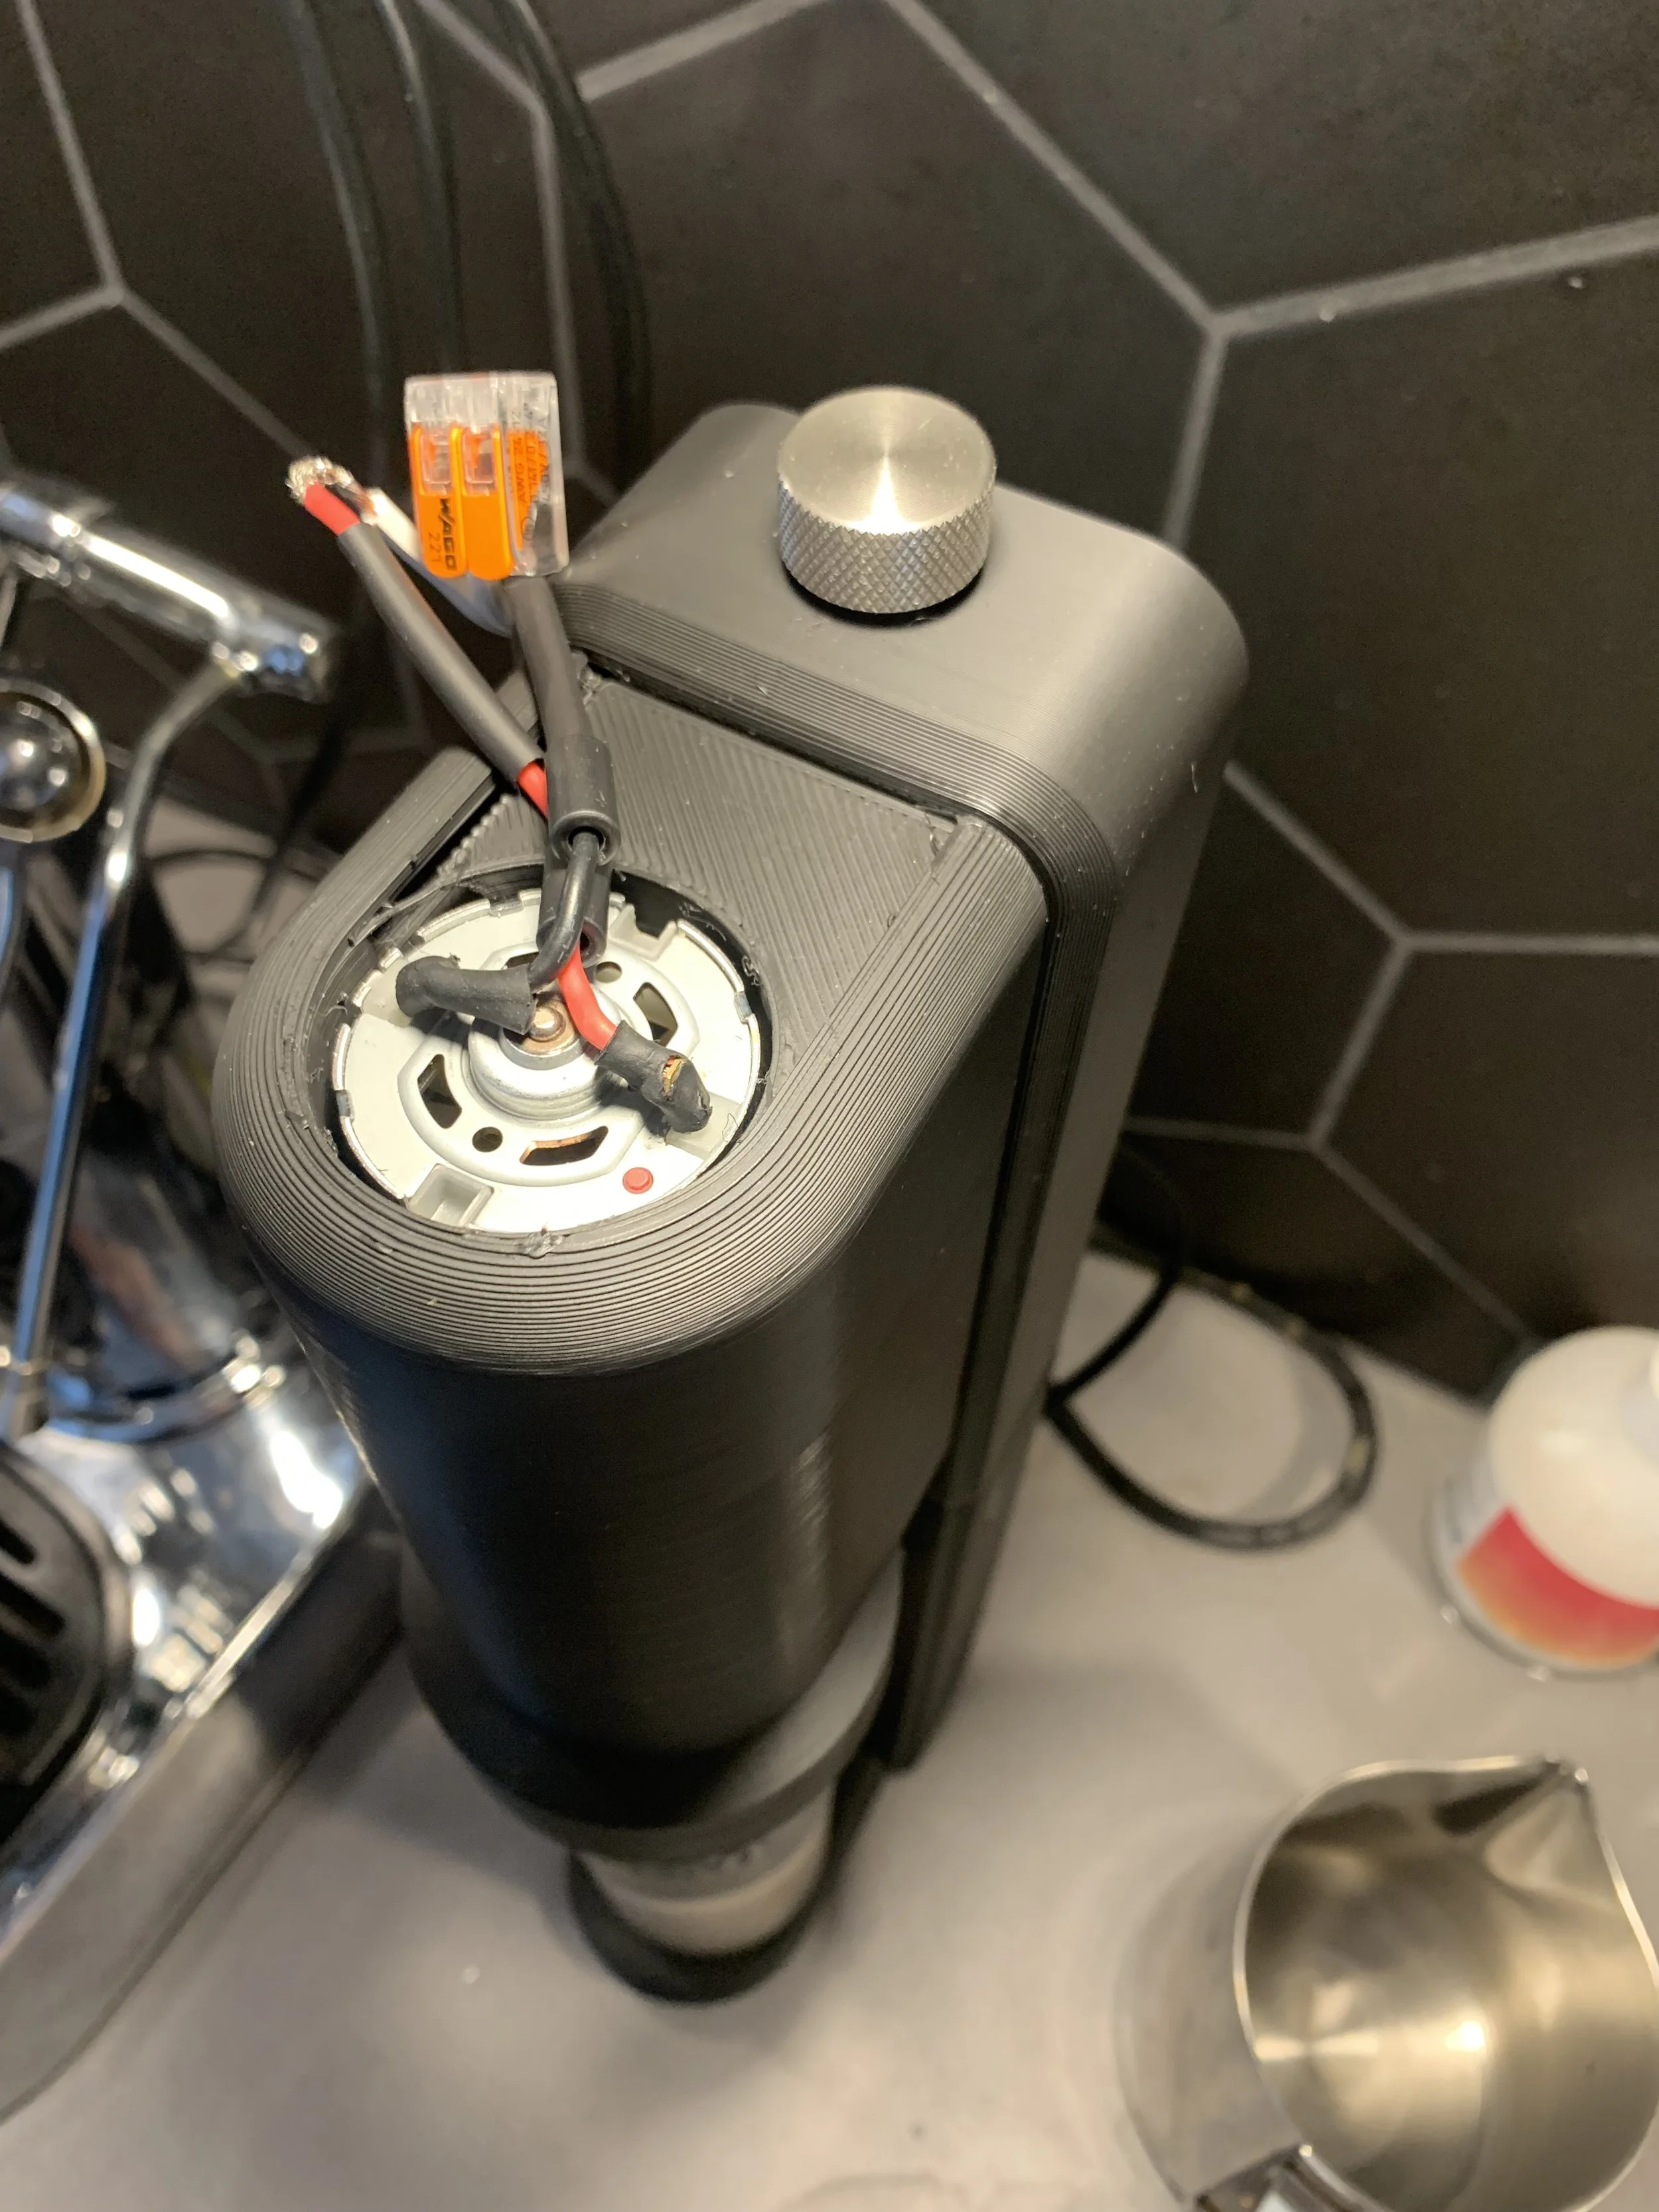
A variant that used a knob to start the grinder with a twisting motion.
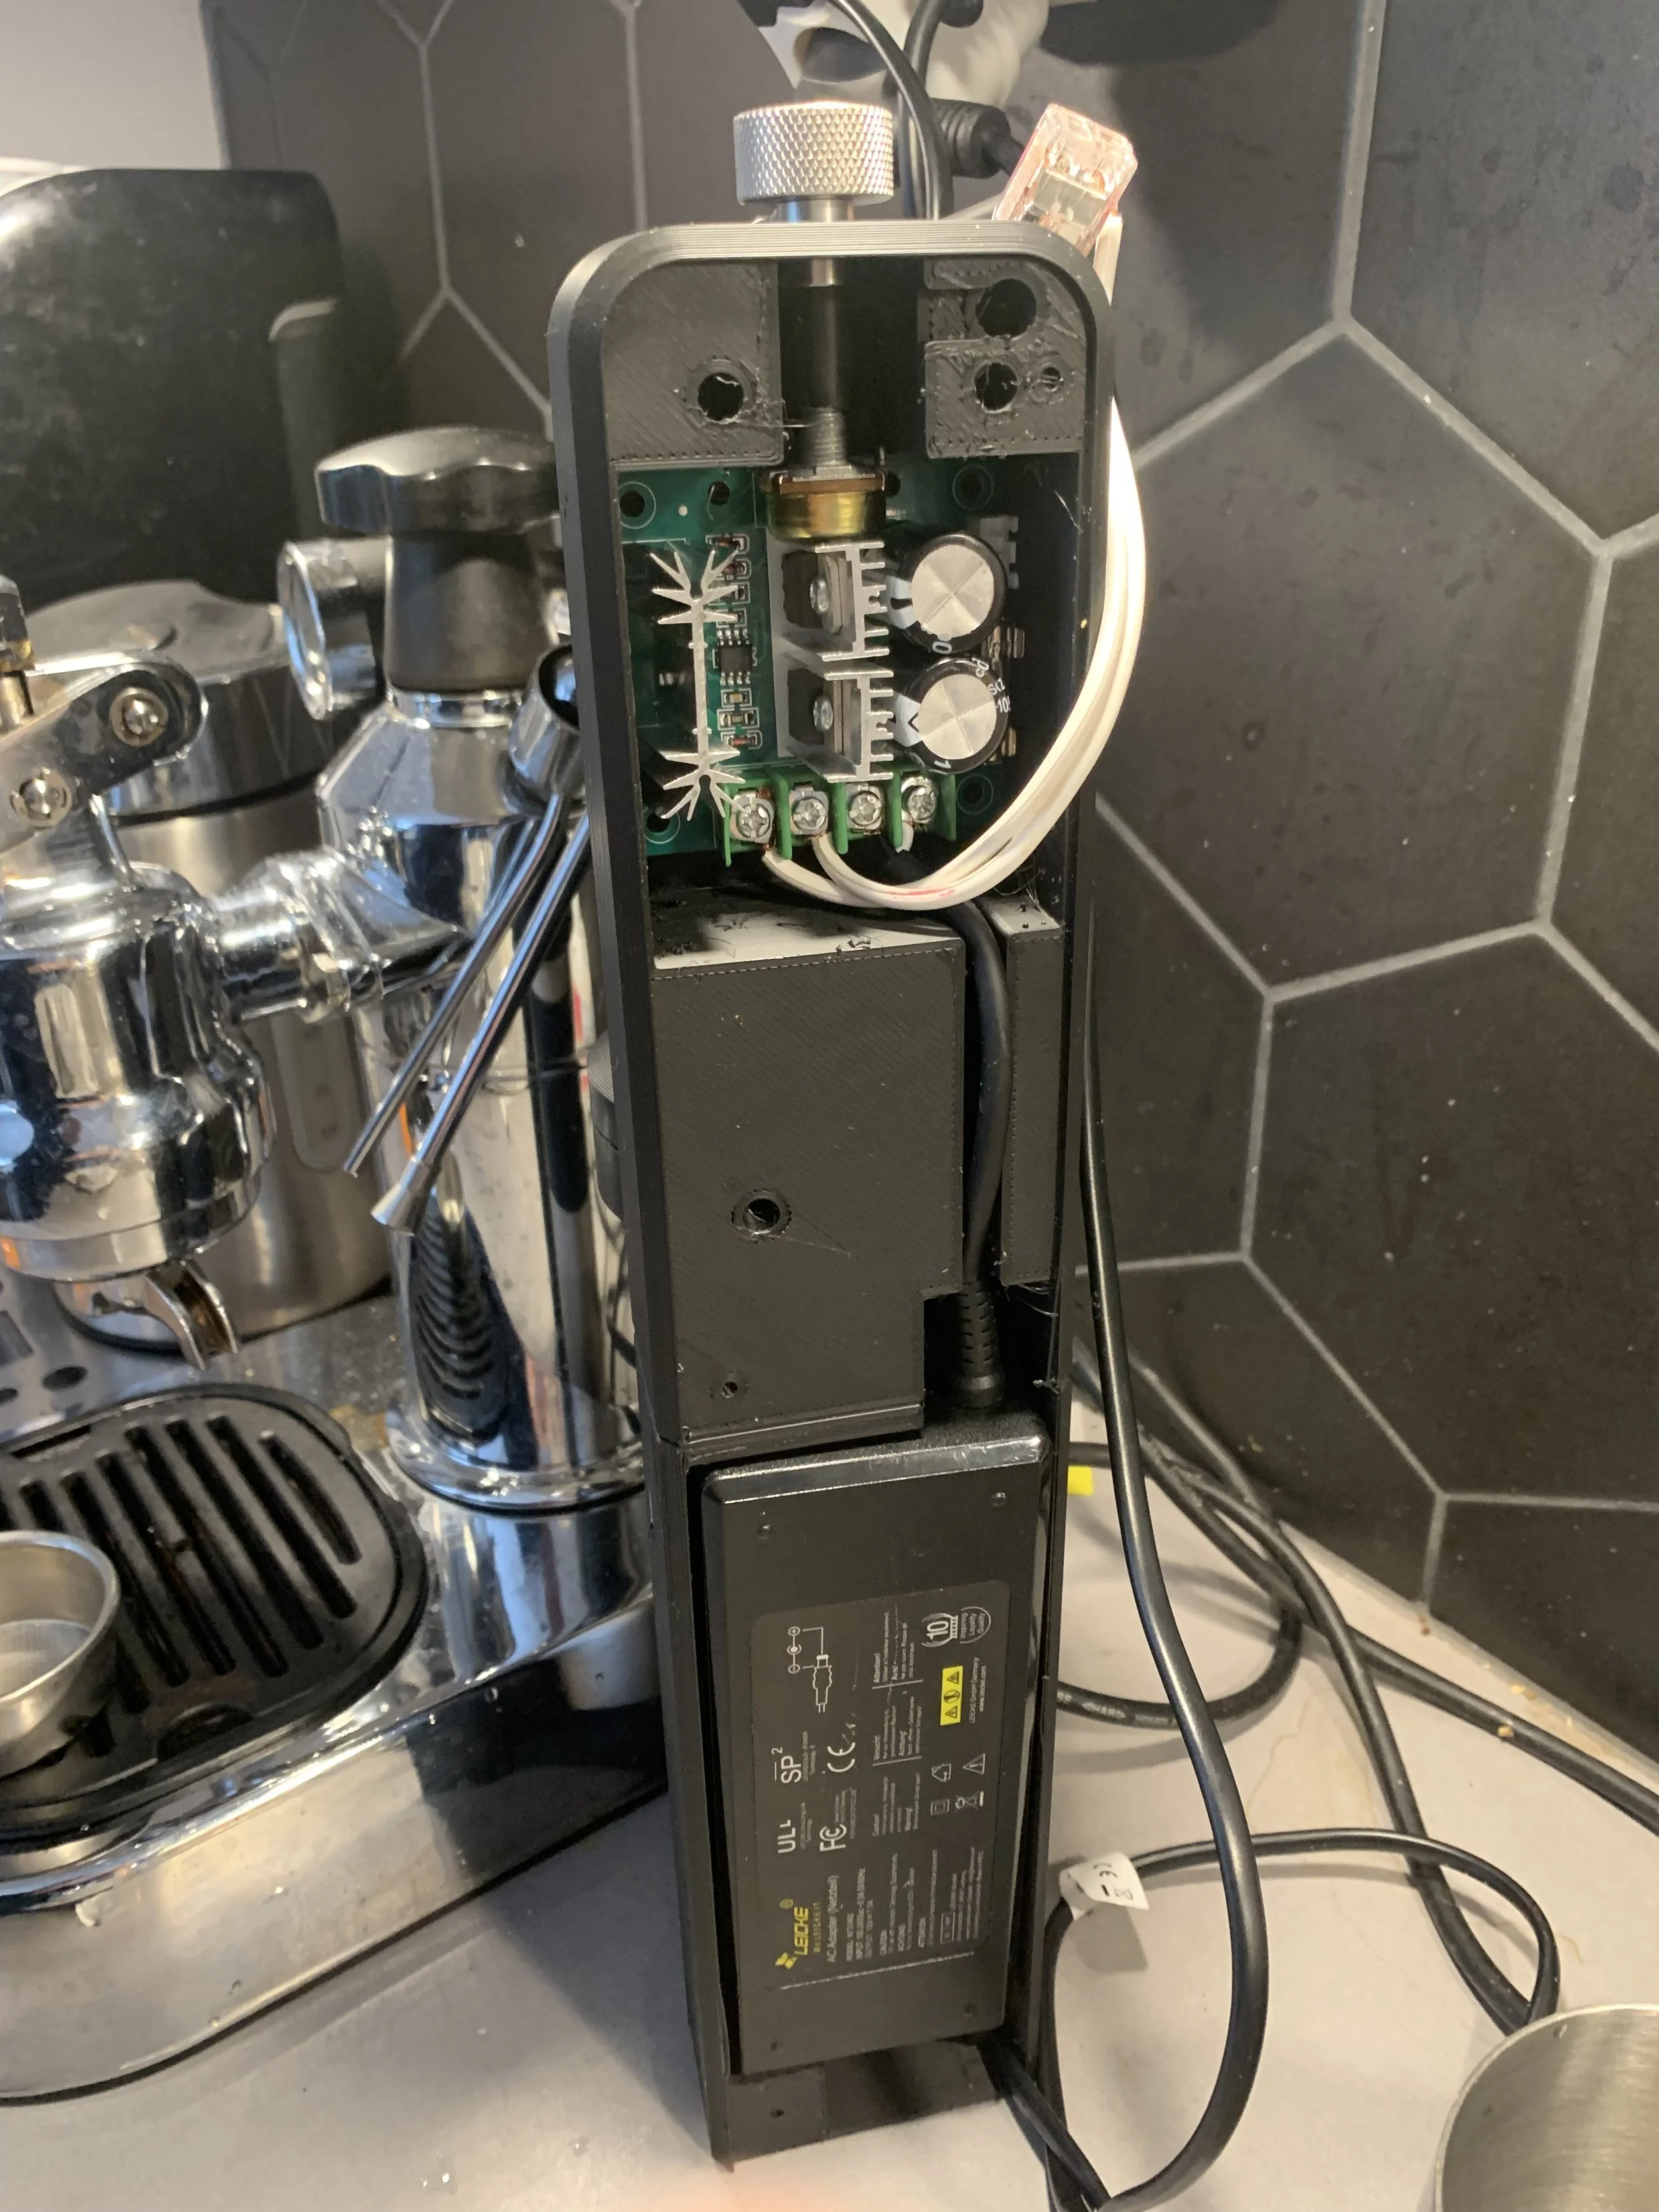
The motor driver module in the first version
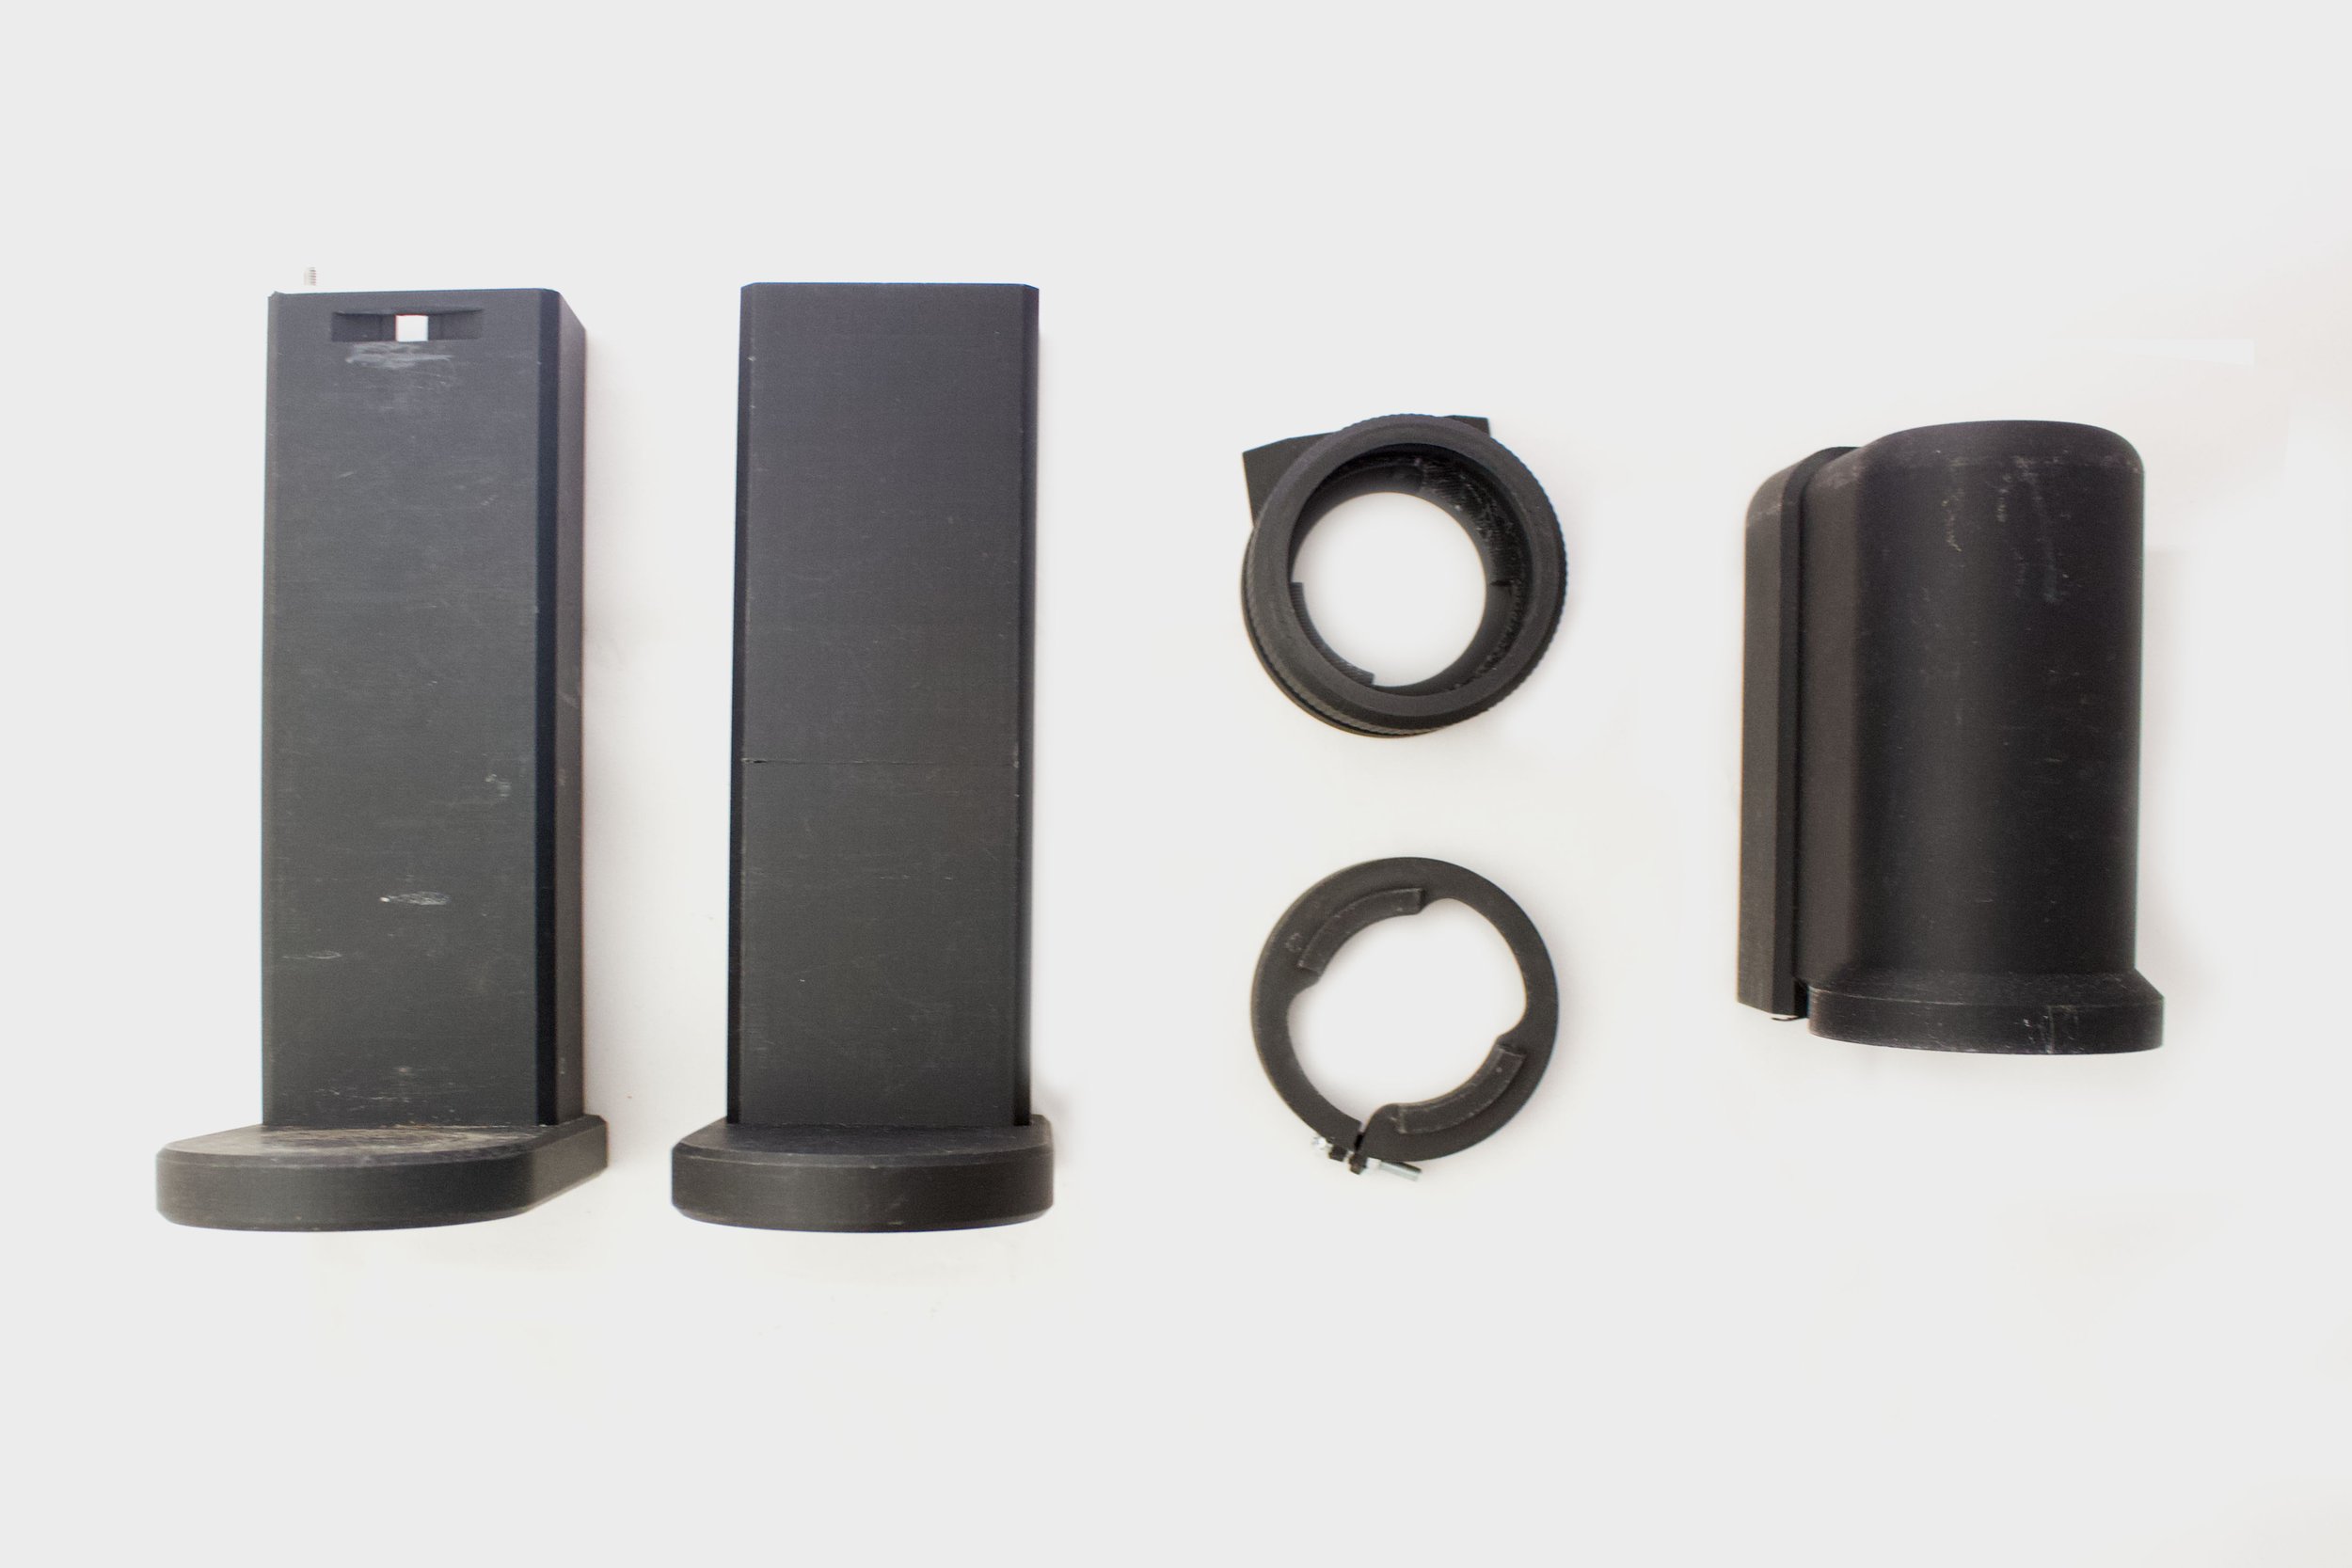
Two variants of bottom parts and one top part, together with fasteners for that attach to the grinder
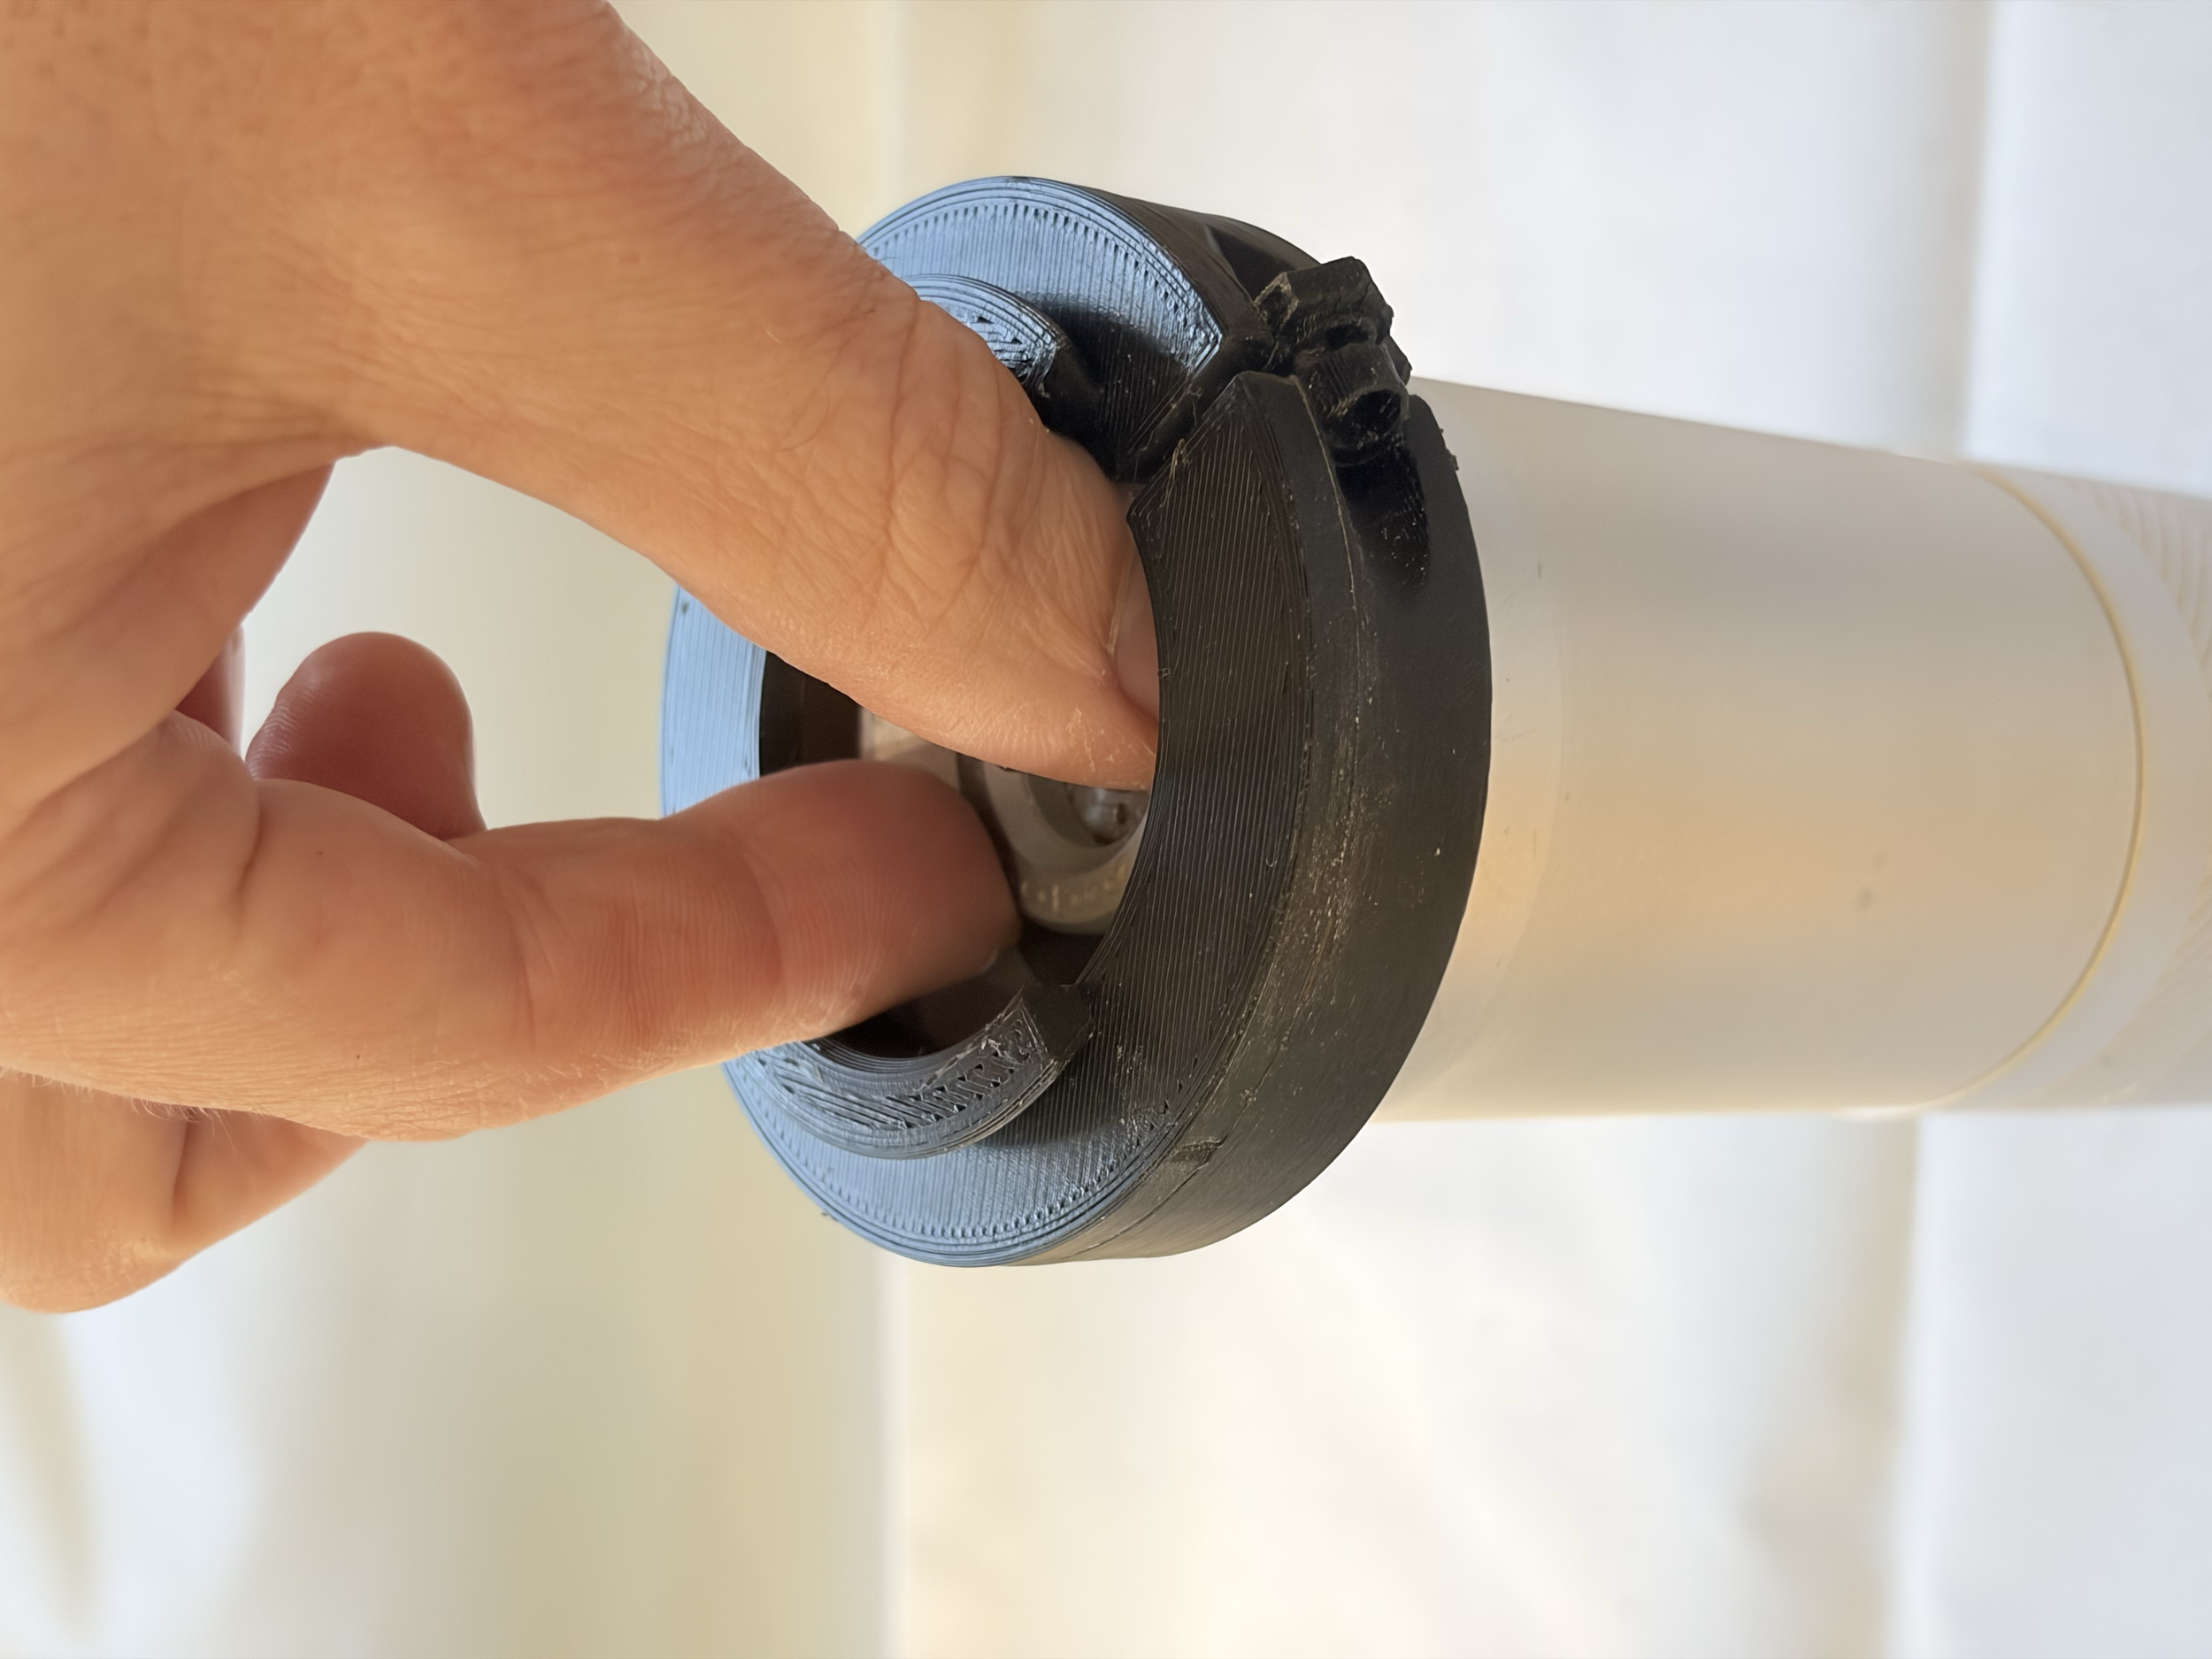
Grinder attachment that didn't have enough clearance for the fingers to reach the grind settings dial.
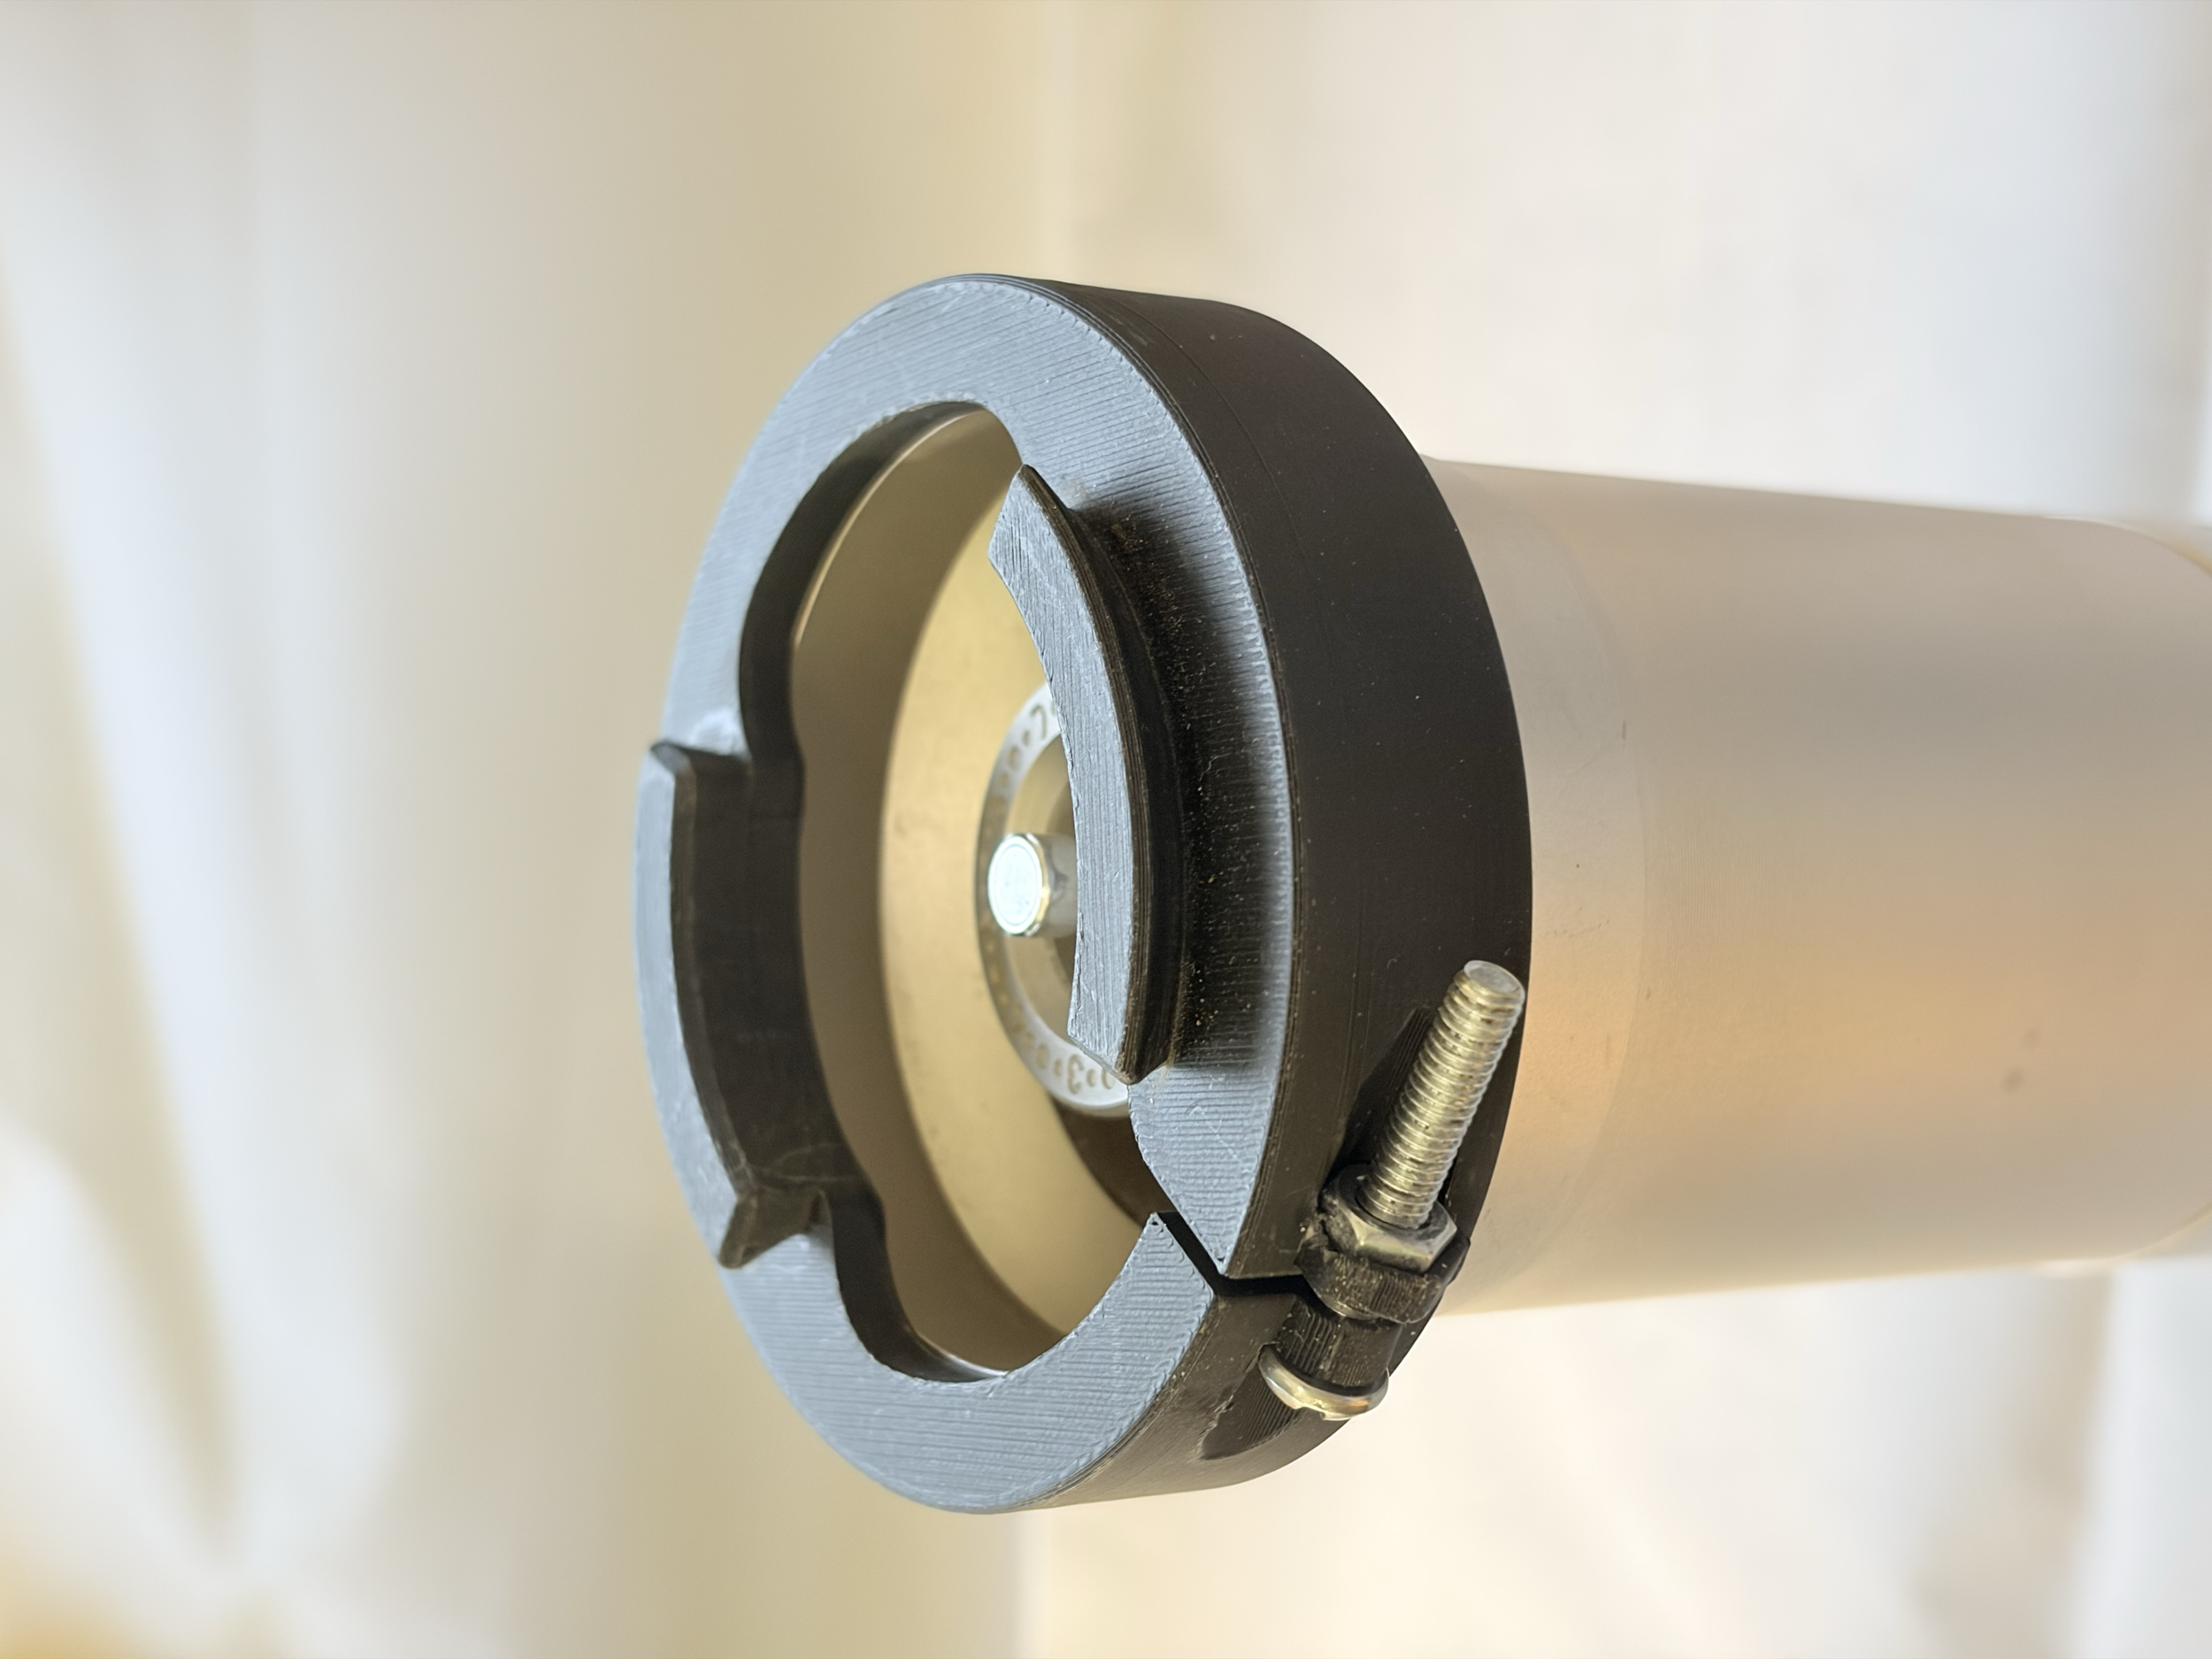
Improved version.
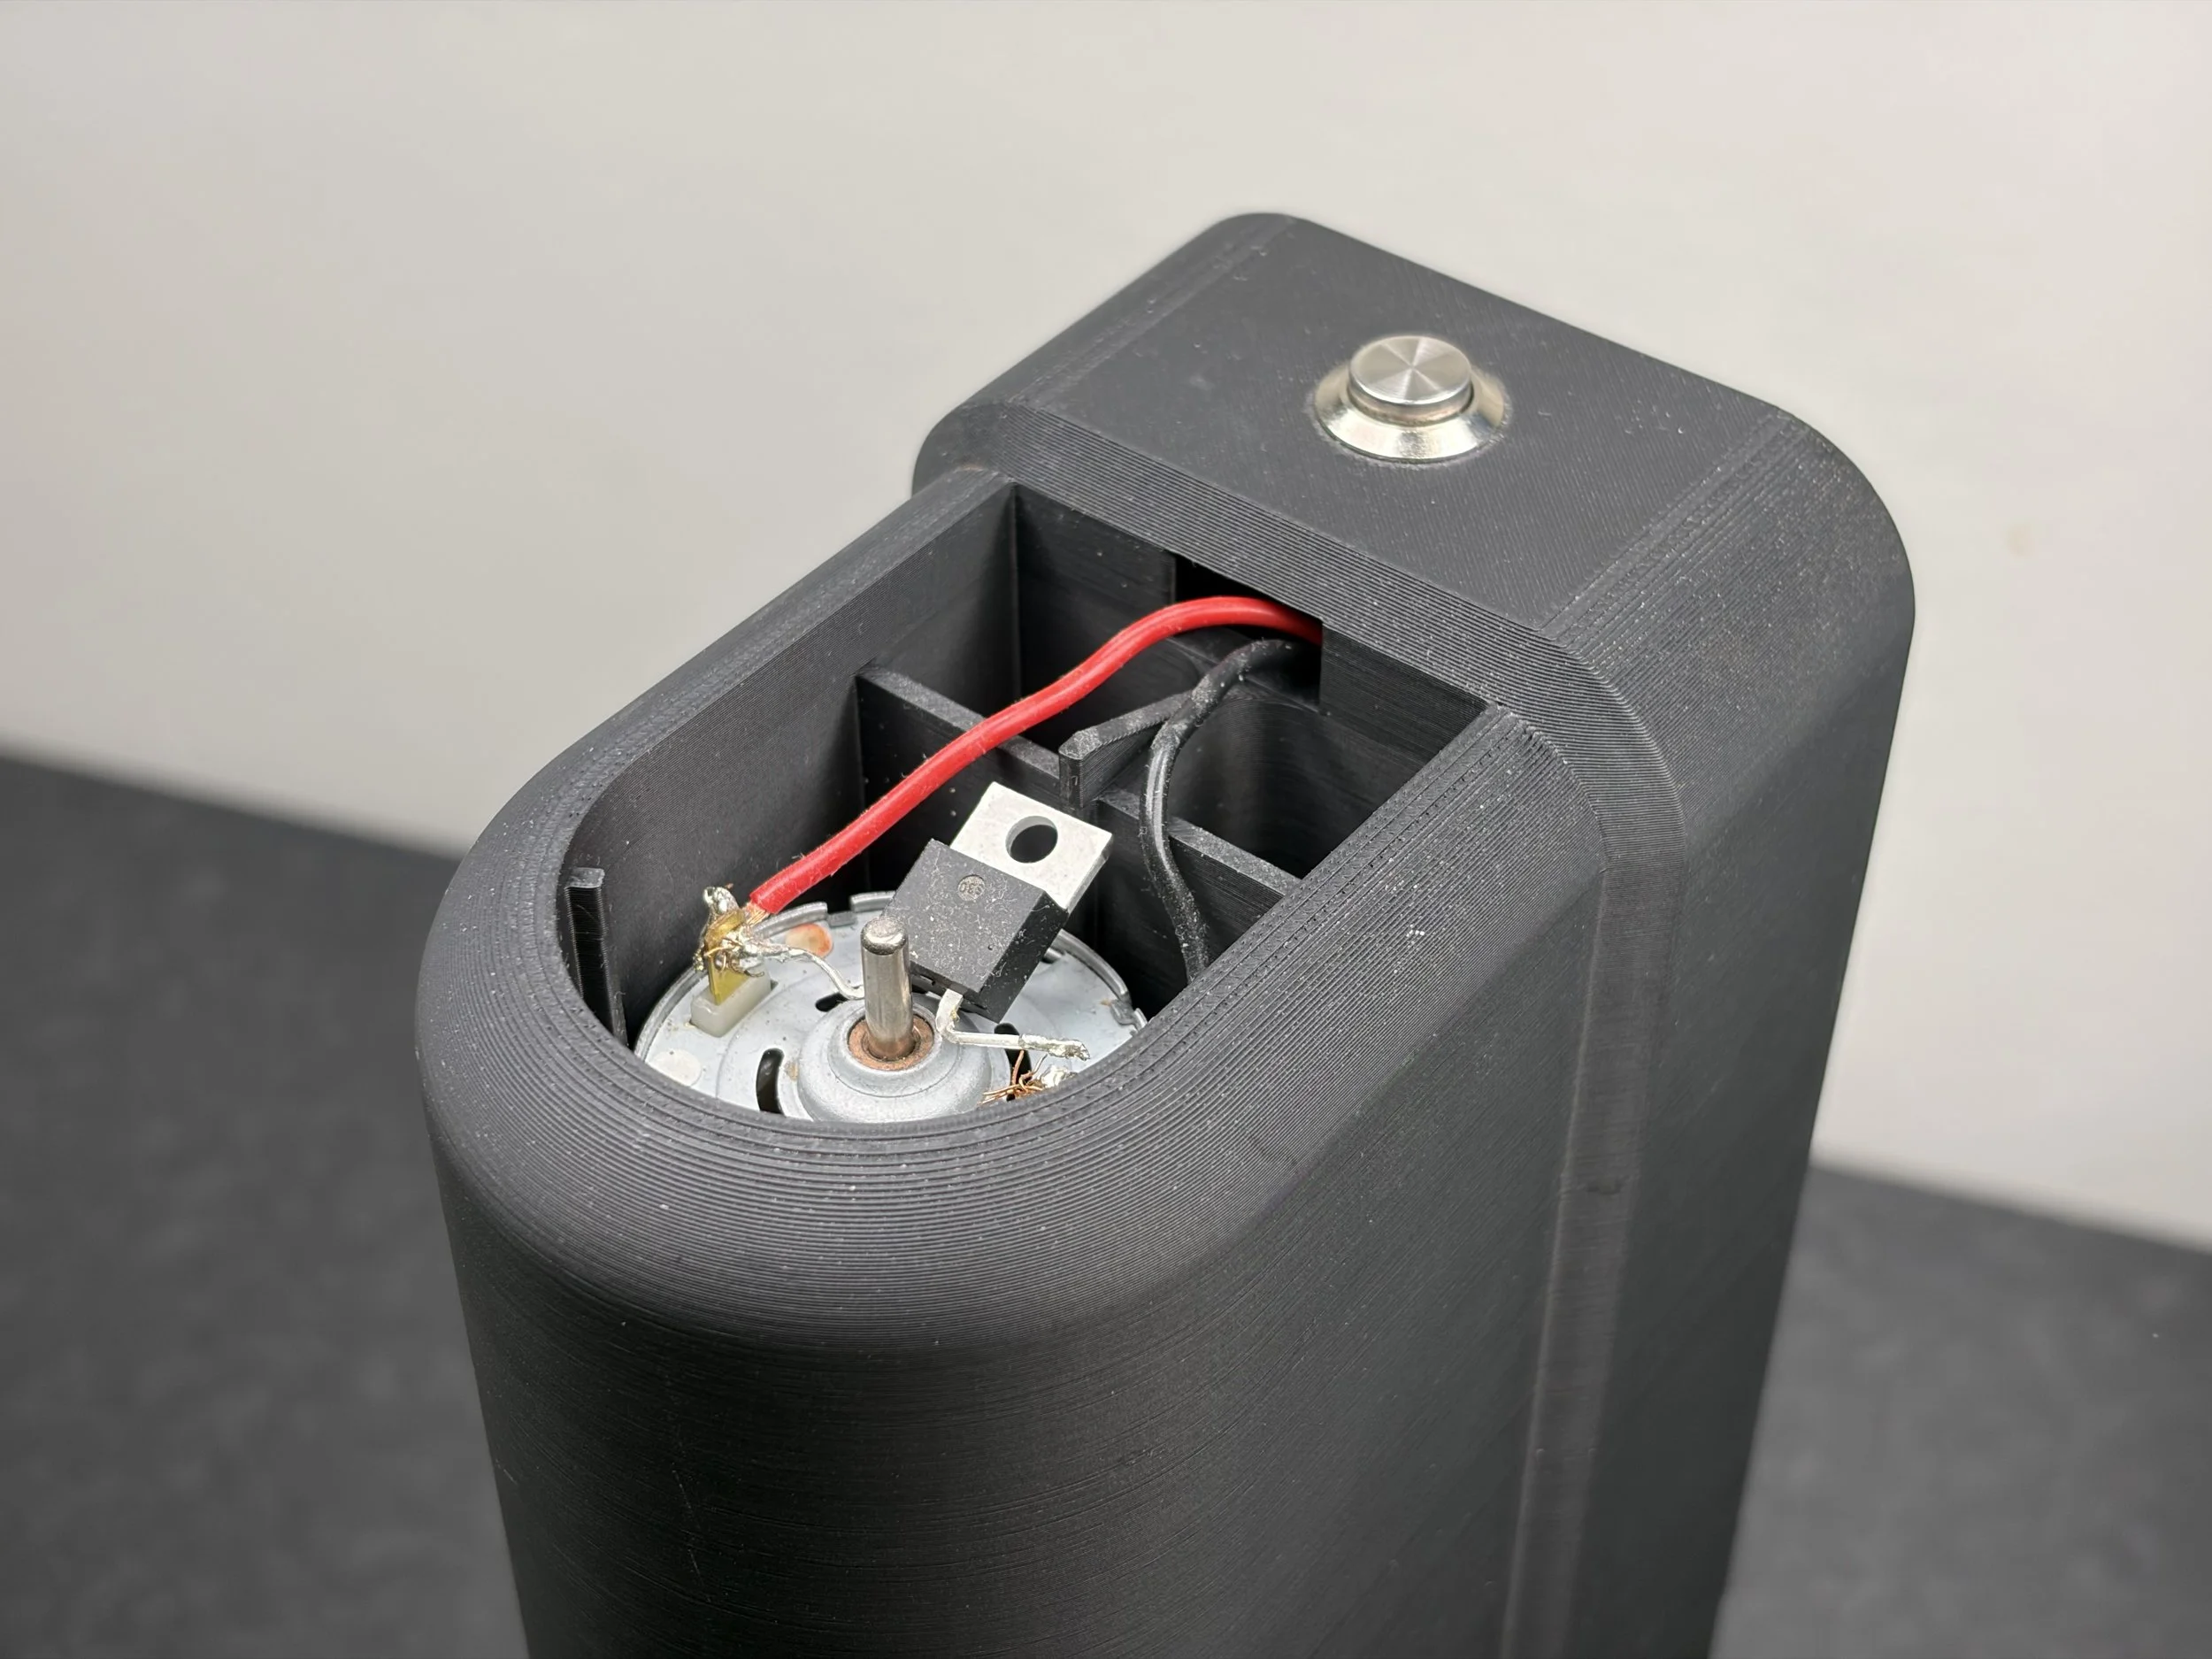
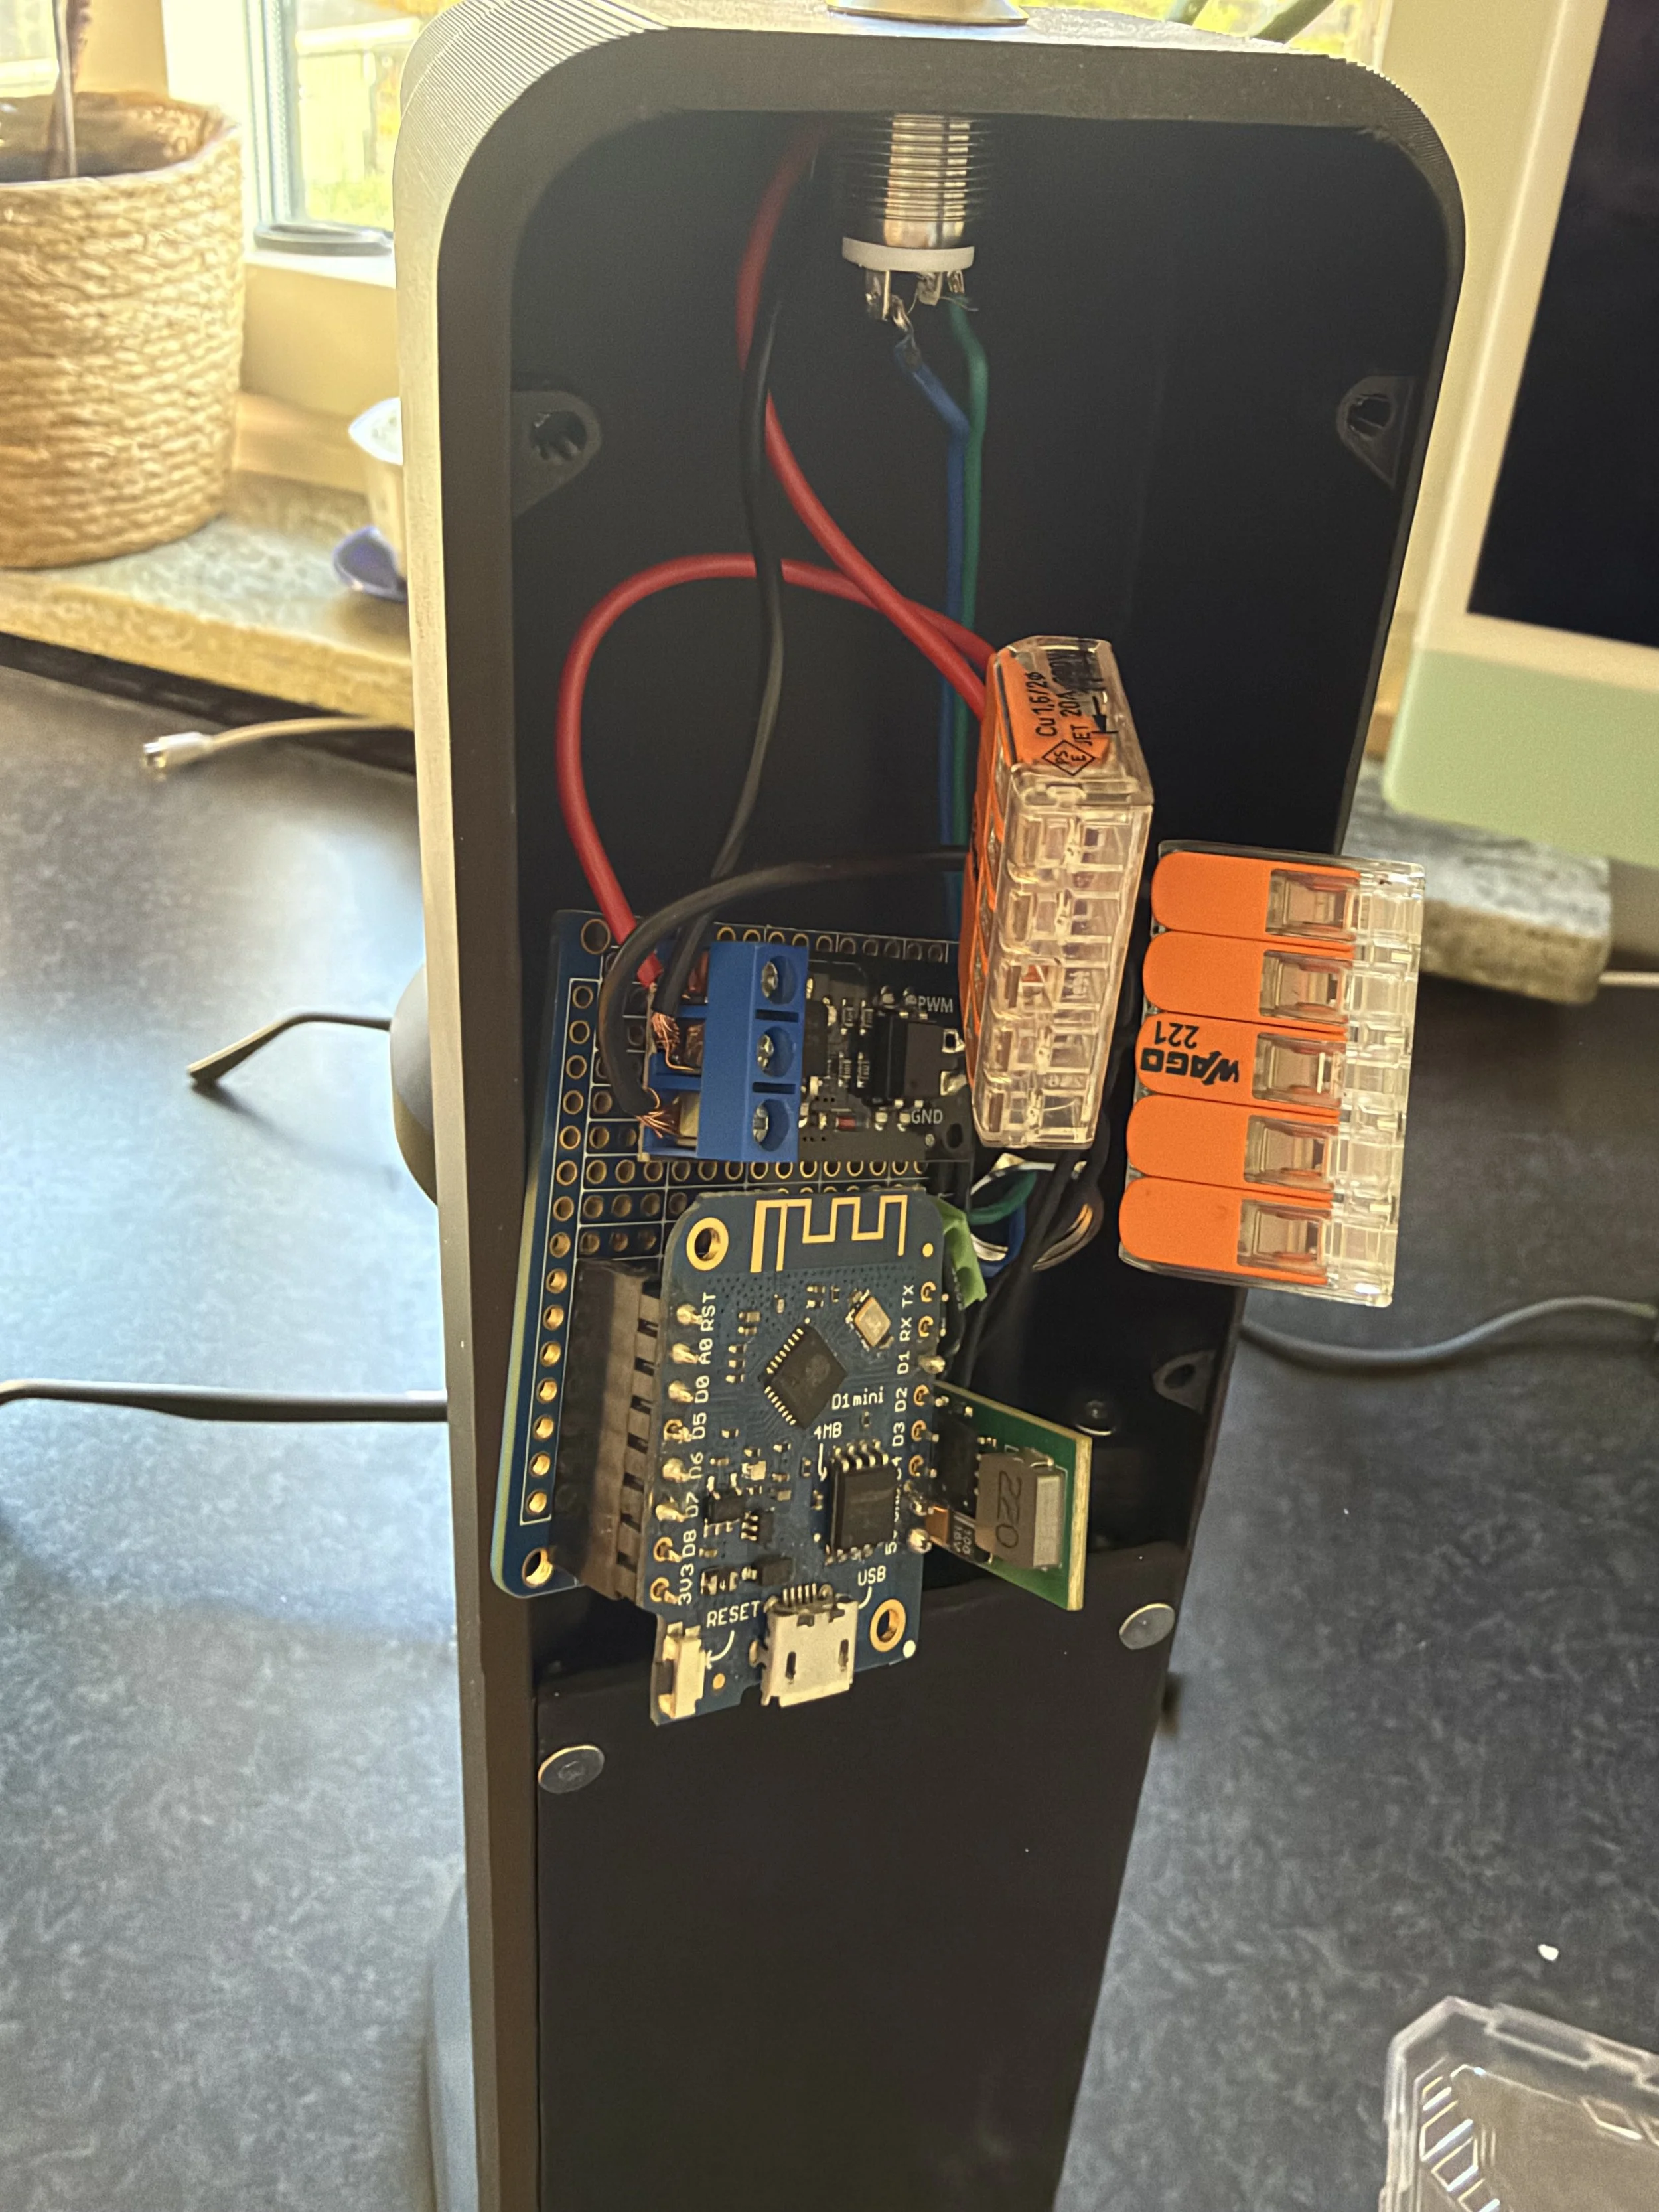
The final version uses an Arduino to slowly ramp up the RPM of the motor with a button press. Not only is it easier on the motor, it's also an improved experience that feels deliberate, precise and careful.
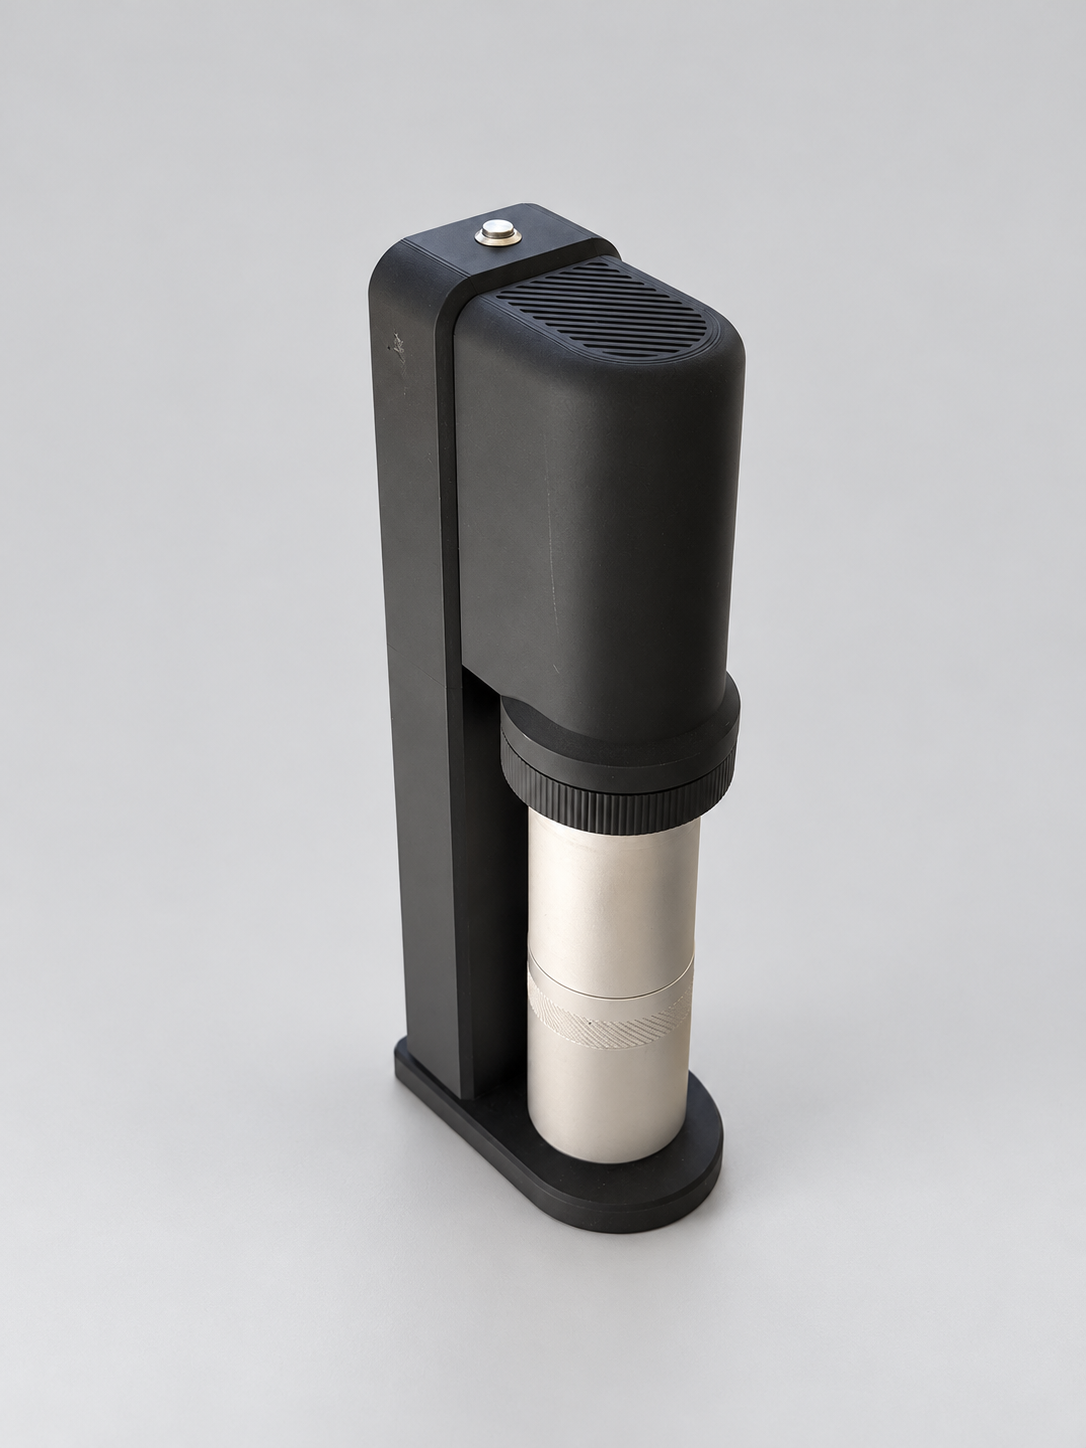
The complete, fully functioning motorised grinder
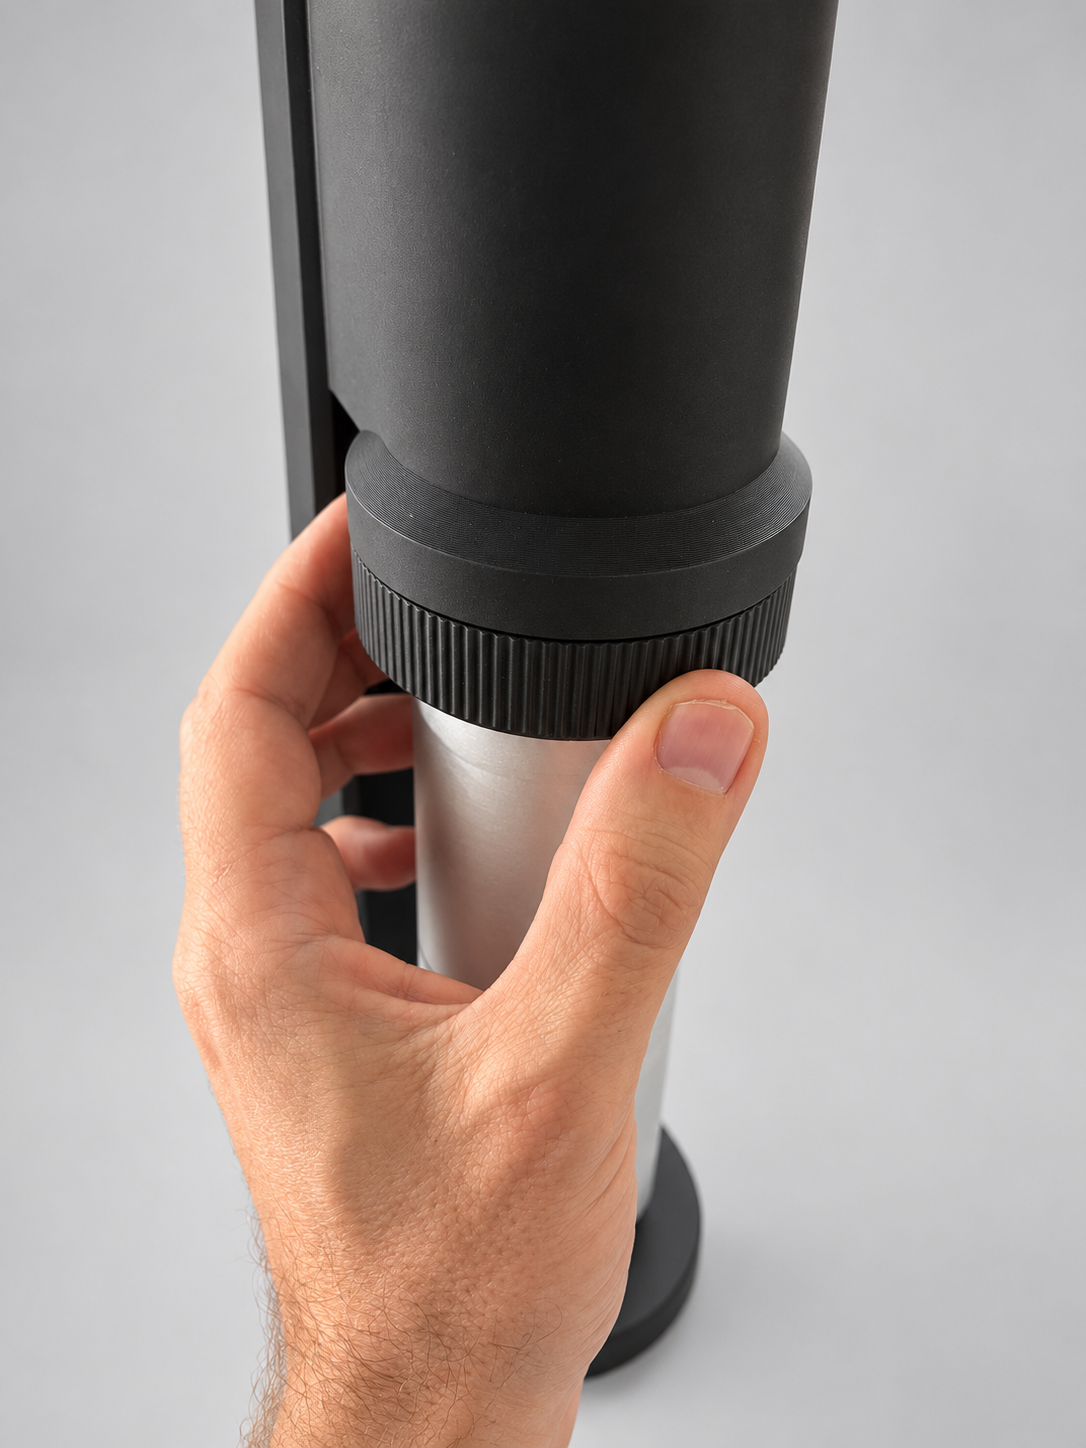
Rotate to remove grinder and add beans and adjust grind size
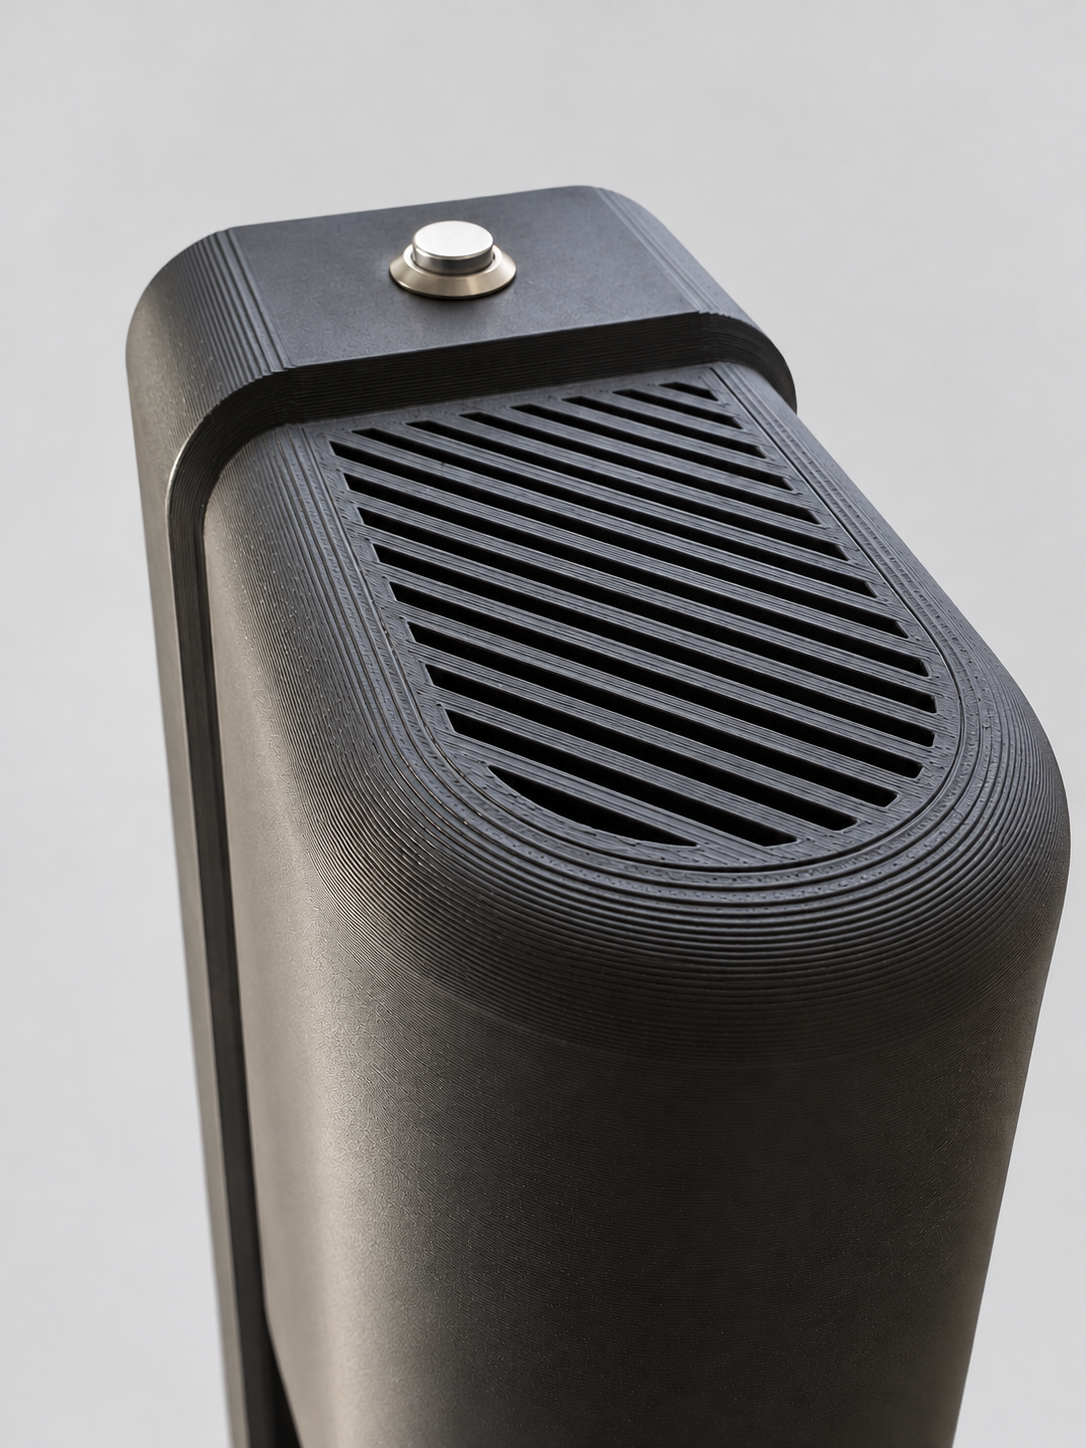
Grid for allowing heat to escape
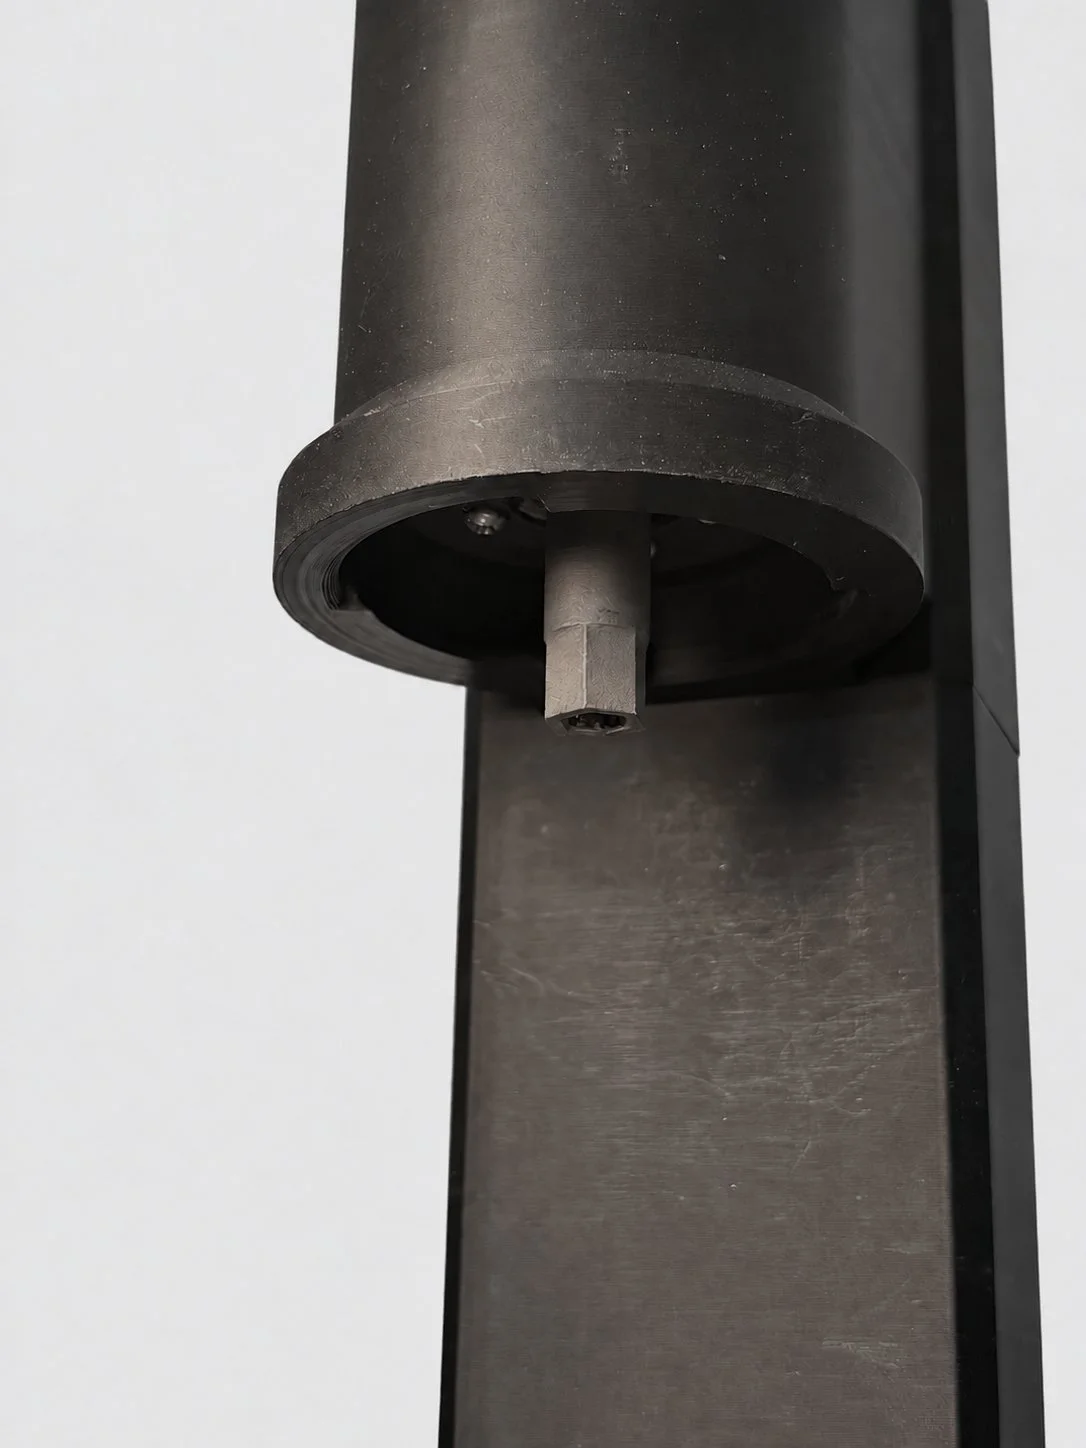
Adapter for connecting the motor's d-shaft to the grinder, 3D-printed in steel
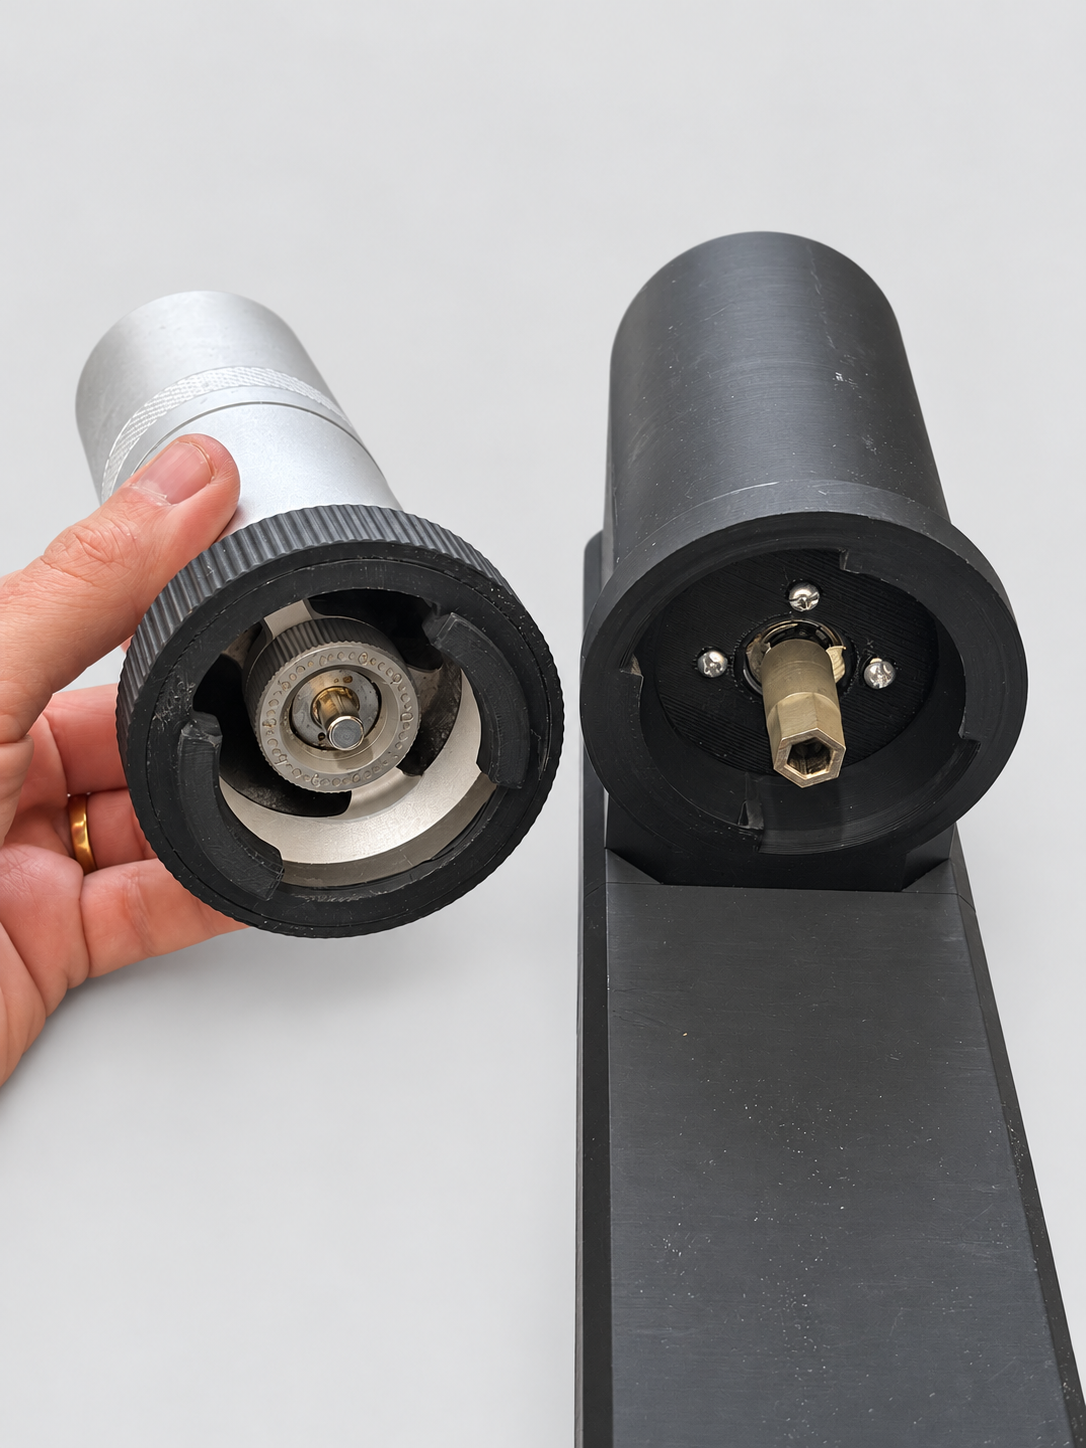
Bayonette fitting for easy removal and attachment
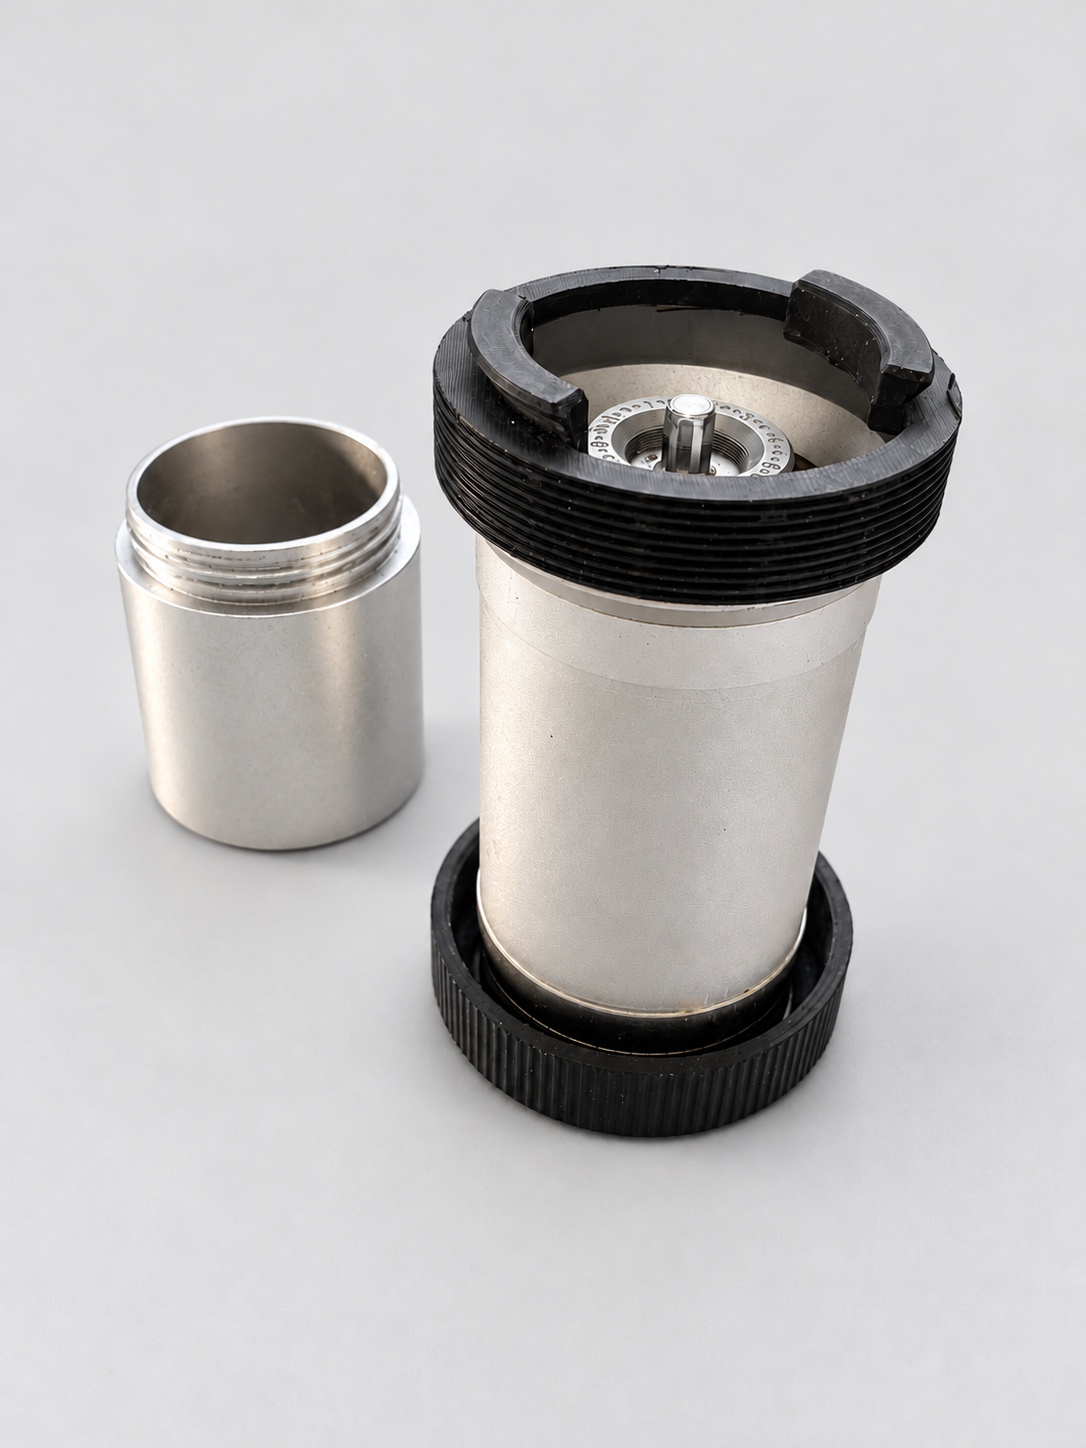
The holder can be unscrewed if you would want to use the grinder manually again